Completion Chill 😎
Hope you enjoy this nice mellow as I share the process of the animation sequence below.
It took several hours to complete (250 frames rendered at around 1min per frame), but it's done and I'm happy with the attempt and what I've learned.
Completed File Uploaded
Camera & Lighting
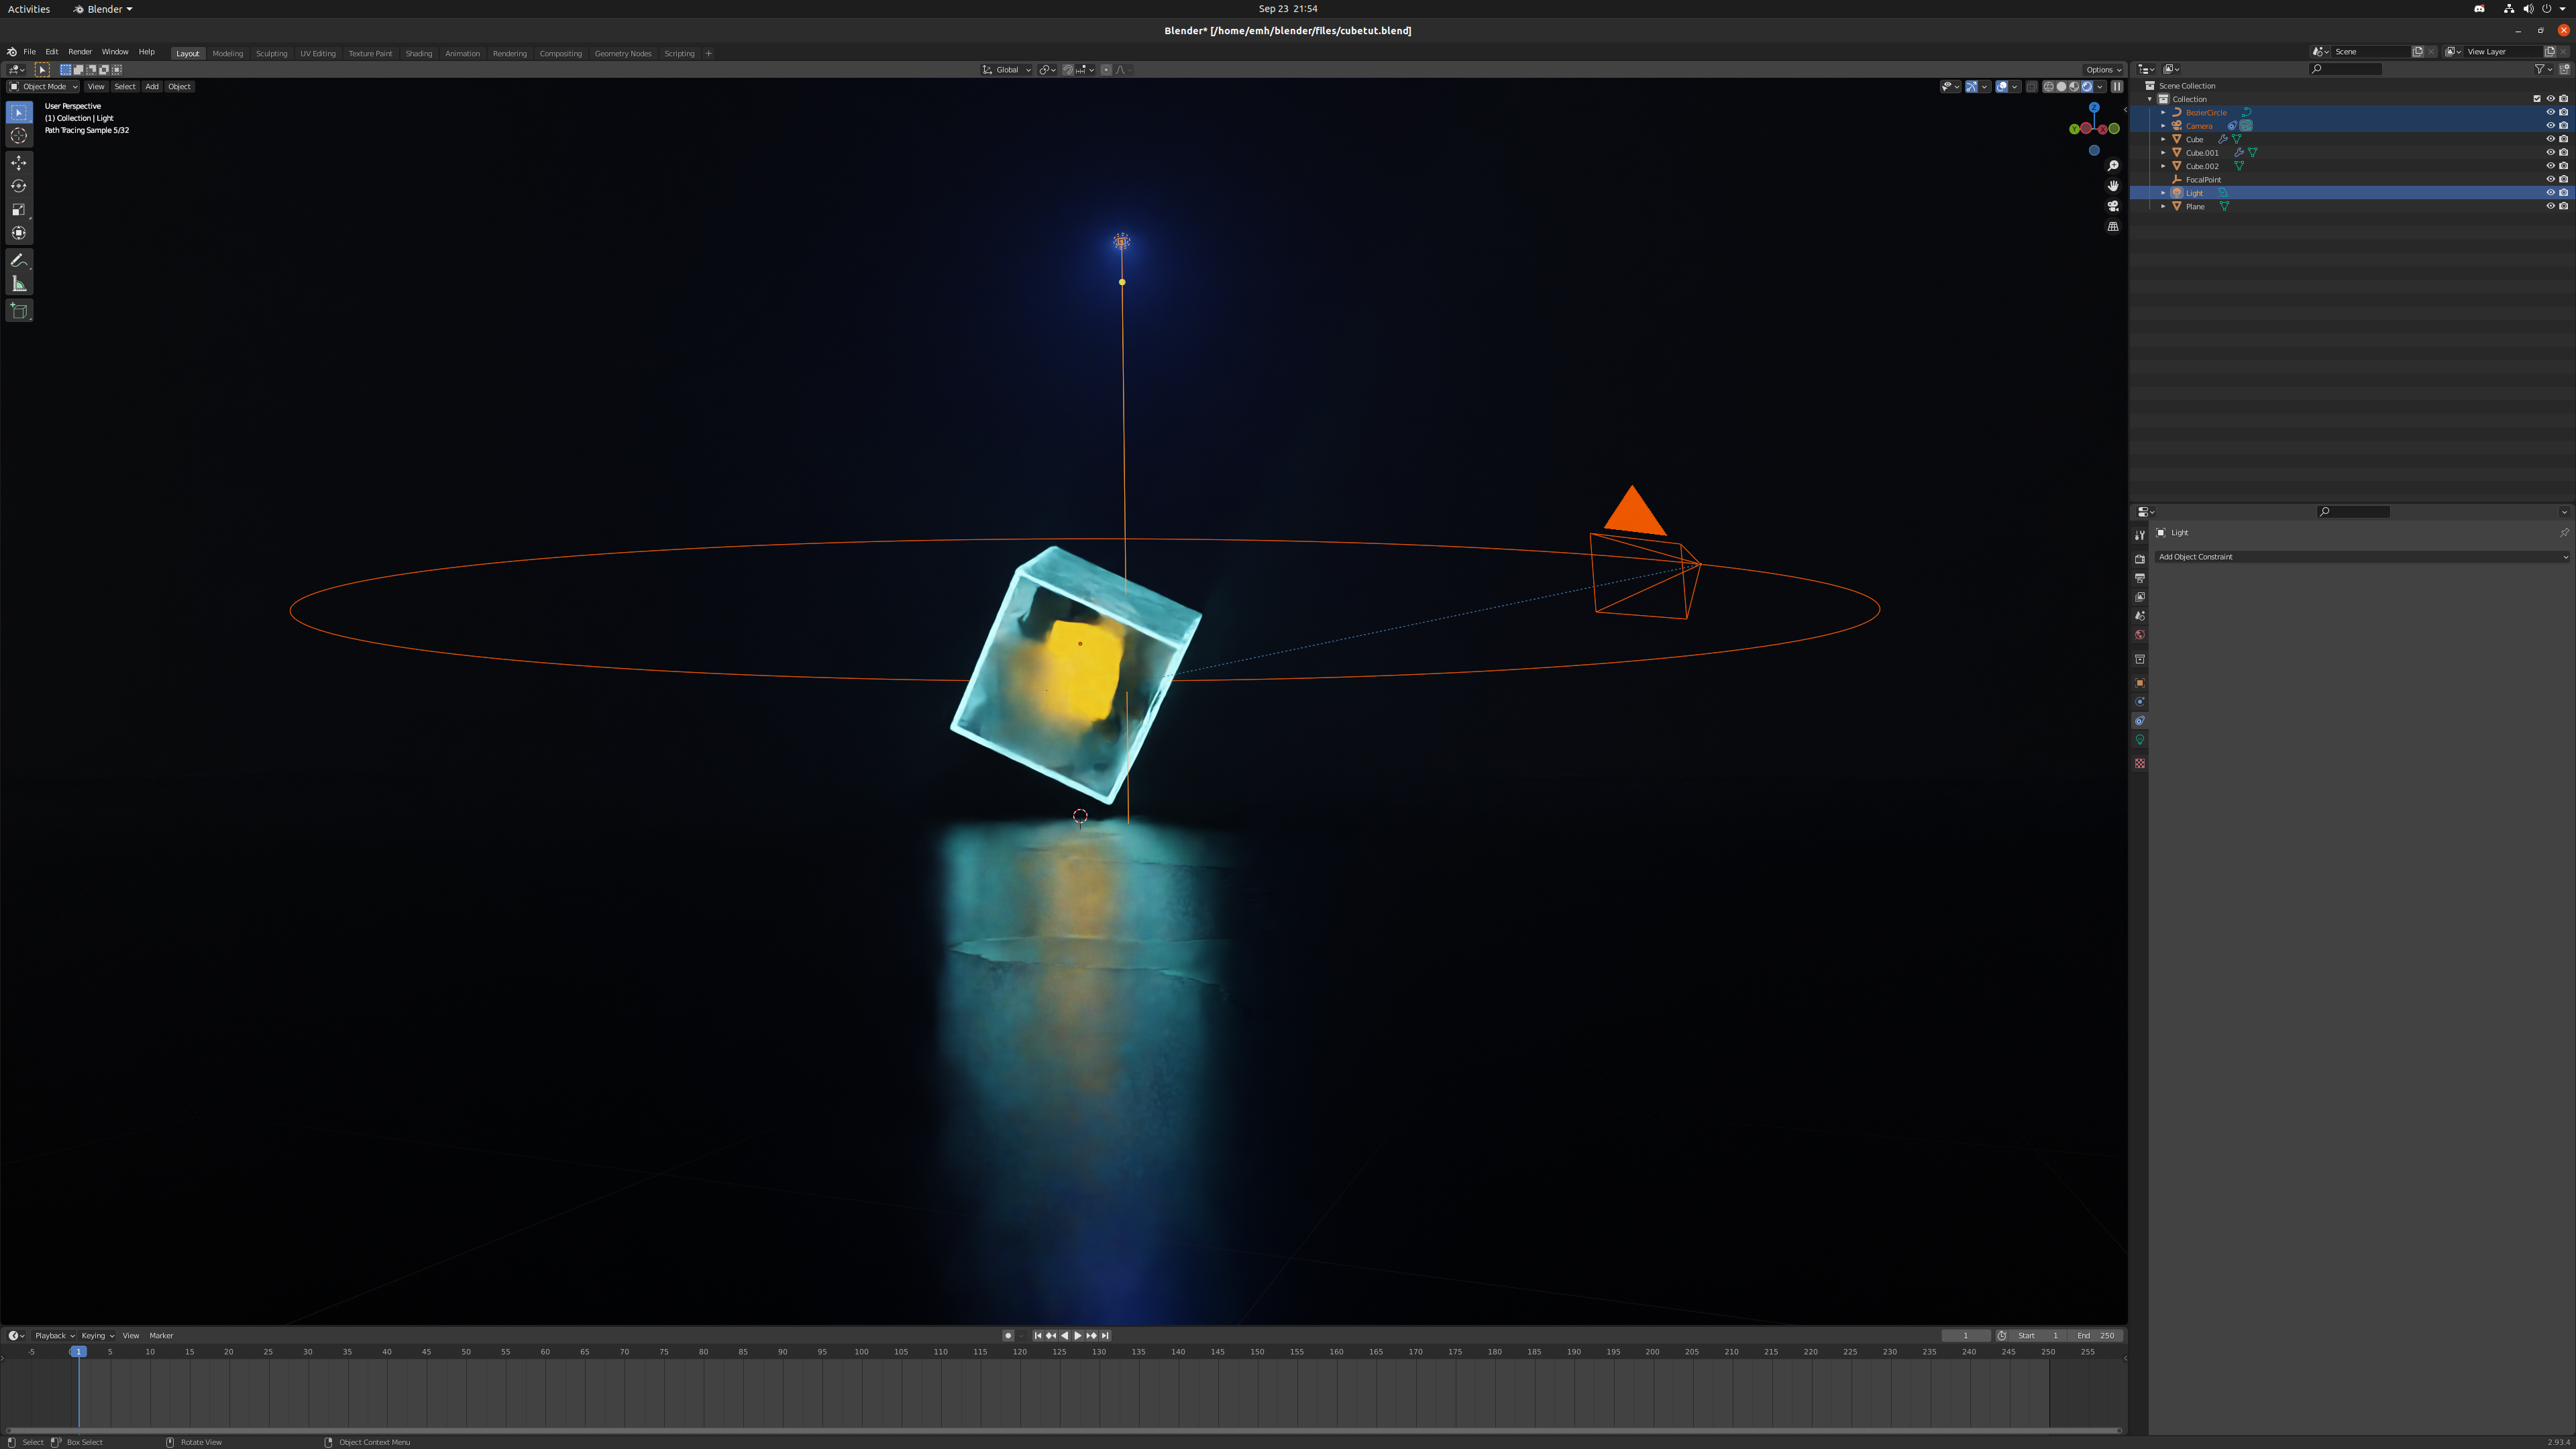
Yesterday and the day before, I showed you guys how the scene was setup (Wednesday) and how the lighting, camera and it's path were arranged in the scene (Thursday). The lighting was set up as an Area light, with the camera following a circular path slightly elevated above the level of the base plane of the floor.
Particle System Plane
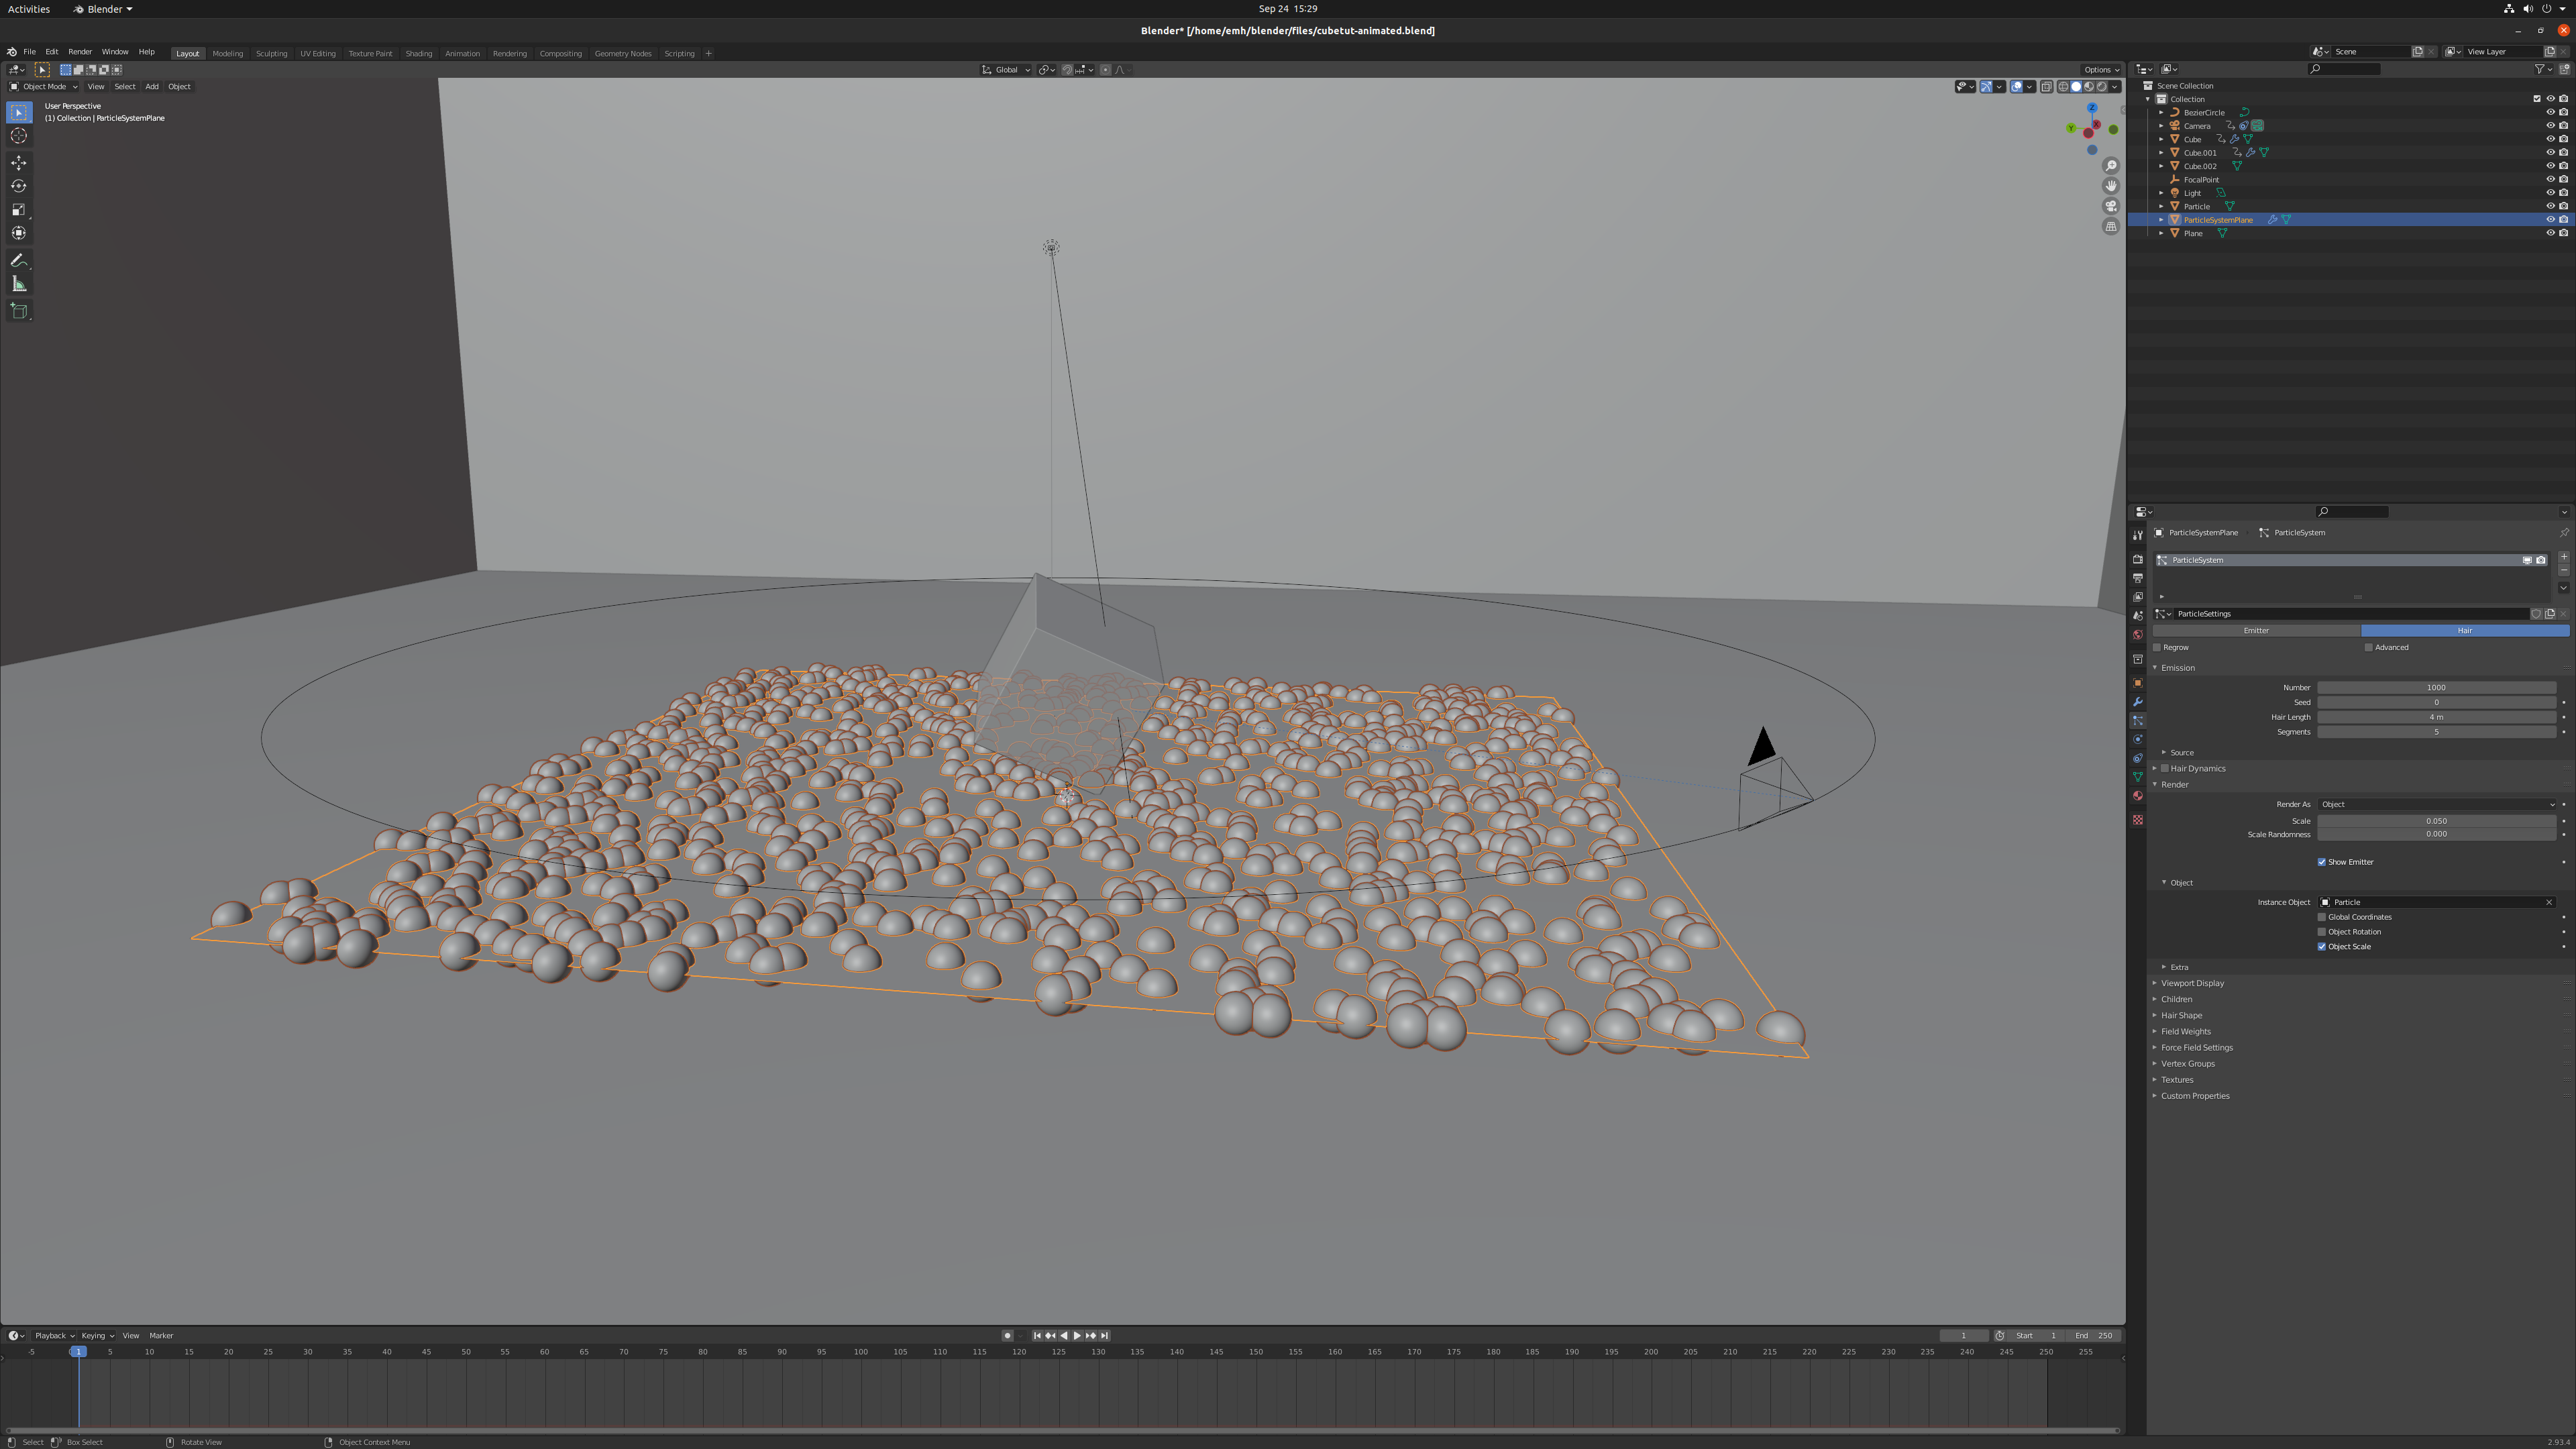
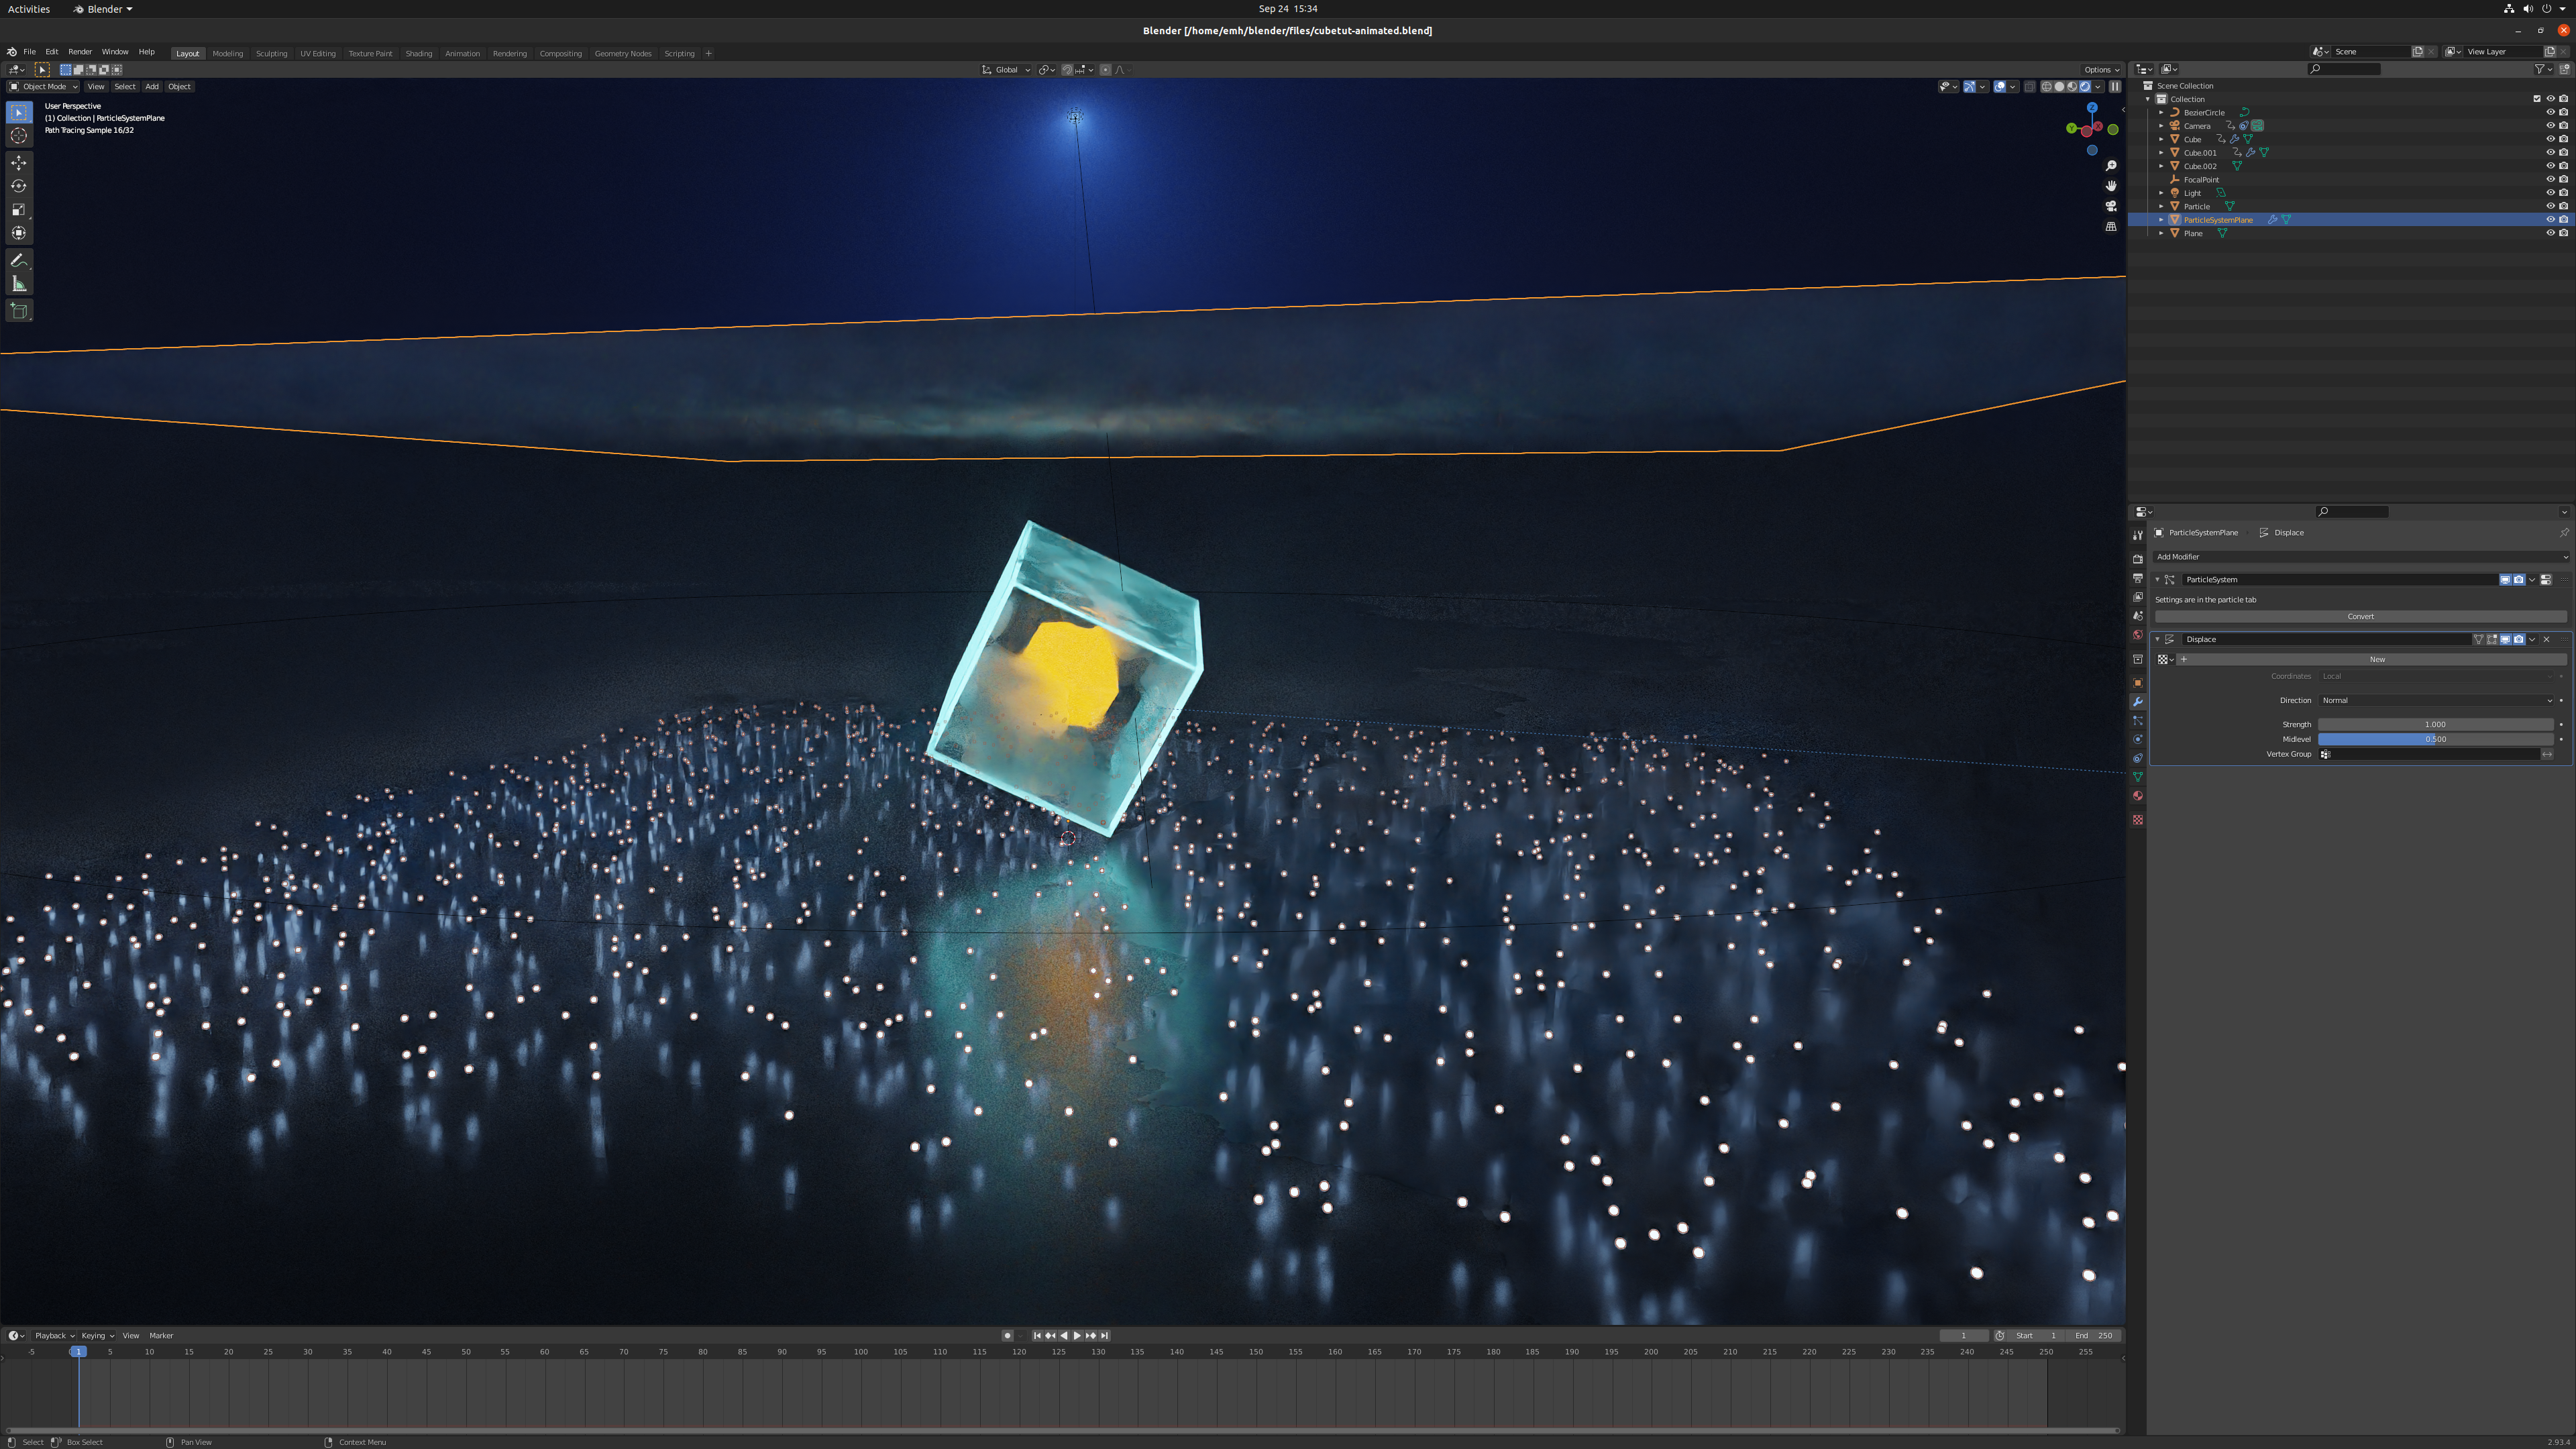
Although the particles in the final render appear floating within the room, the process actually begins by creating a second plane, and a UV sphere that will become the template for all the particles. A series of modifiers are then used on the particle plane, once the initial plane settings are made.
The initial plane settings include Apply Scale (to match the displacement between plane and particles), adjusting the "Hair Length" (i.e. determines the particle size), and setting the number of particles on the plane (which was itself subdivided into 200 segments, with 1000 particles set). Blender then randomly places the particles within the plane as you can see. However at this stage the particles are still stuck within the second plane.
Modifiers For Particles
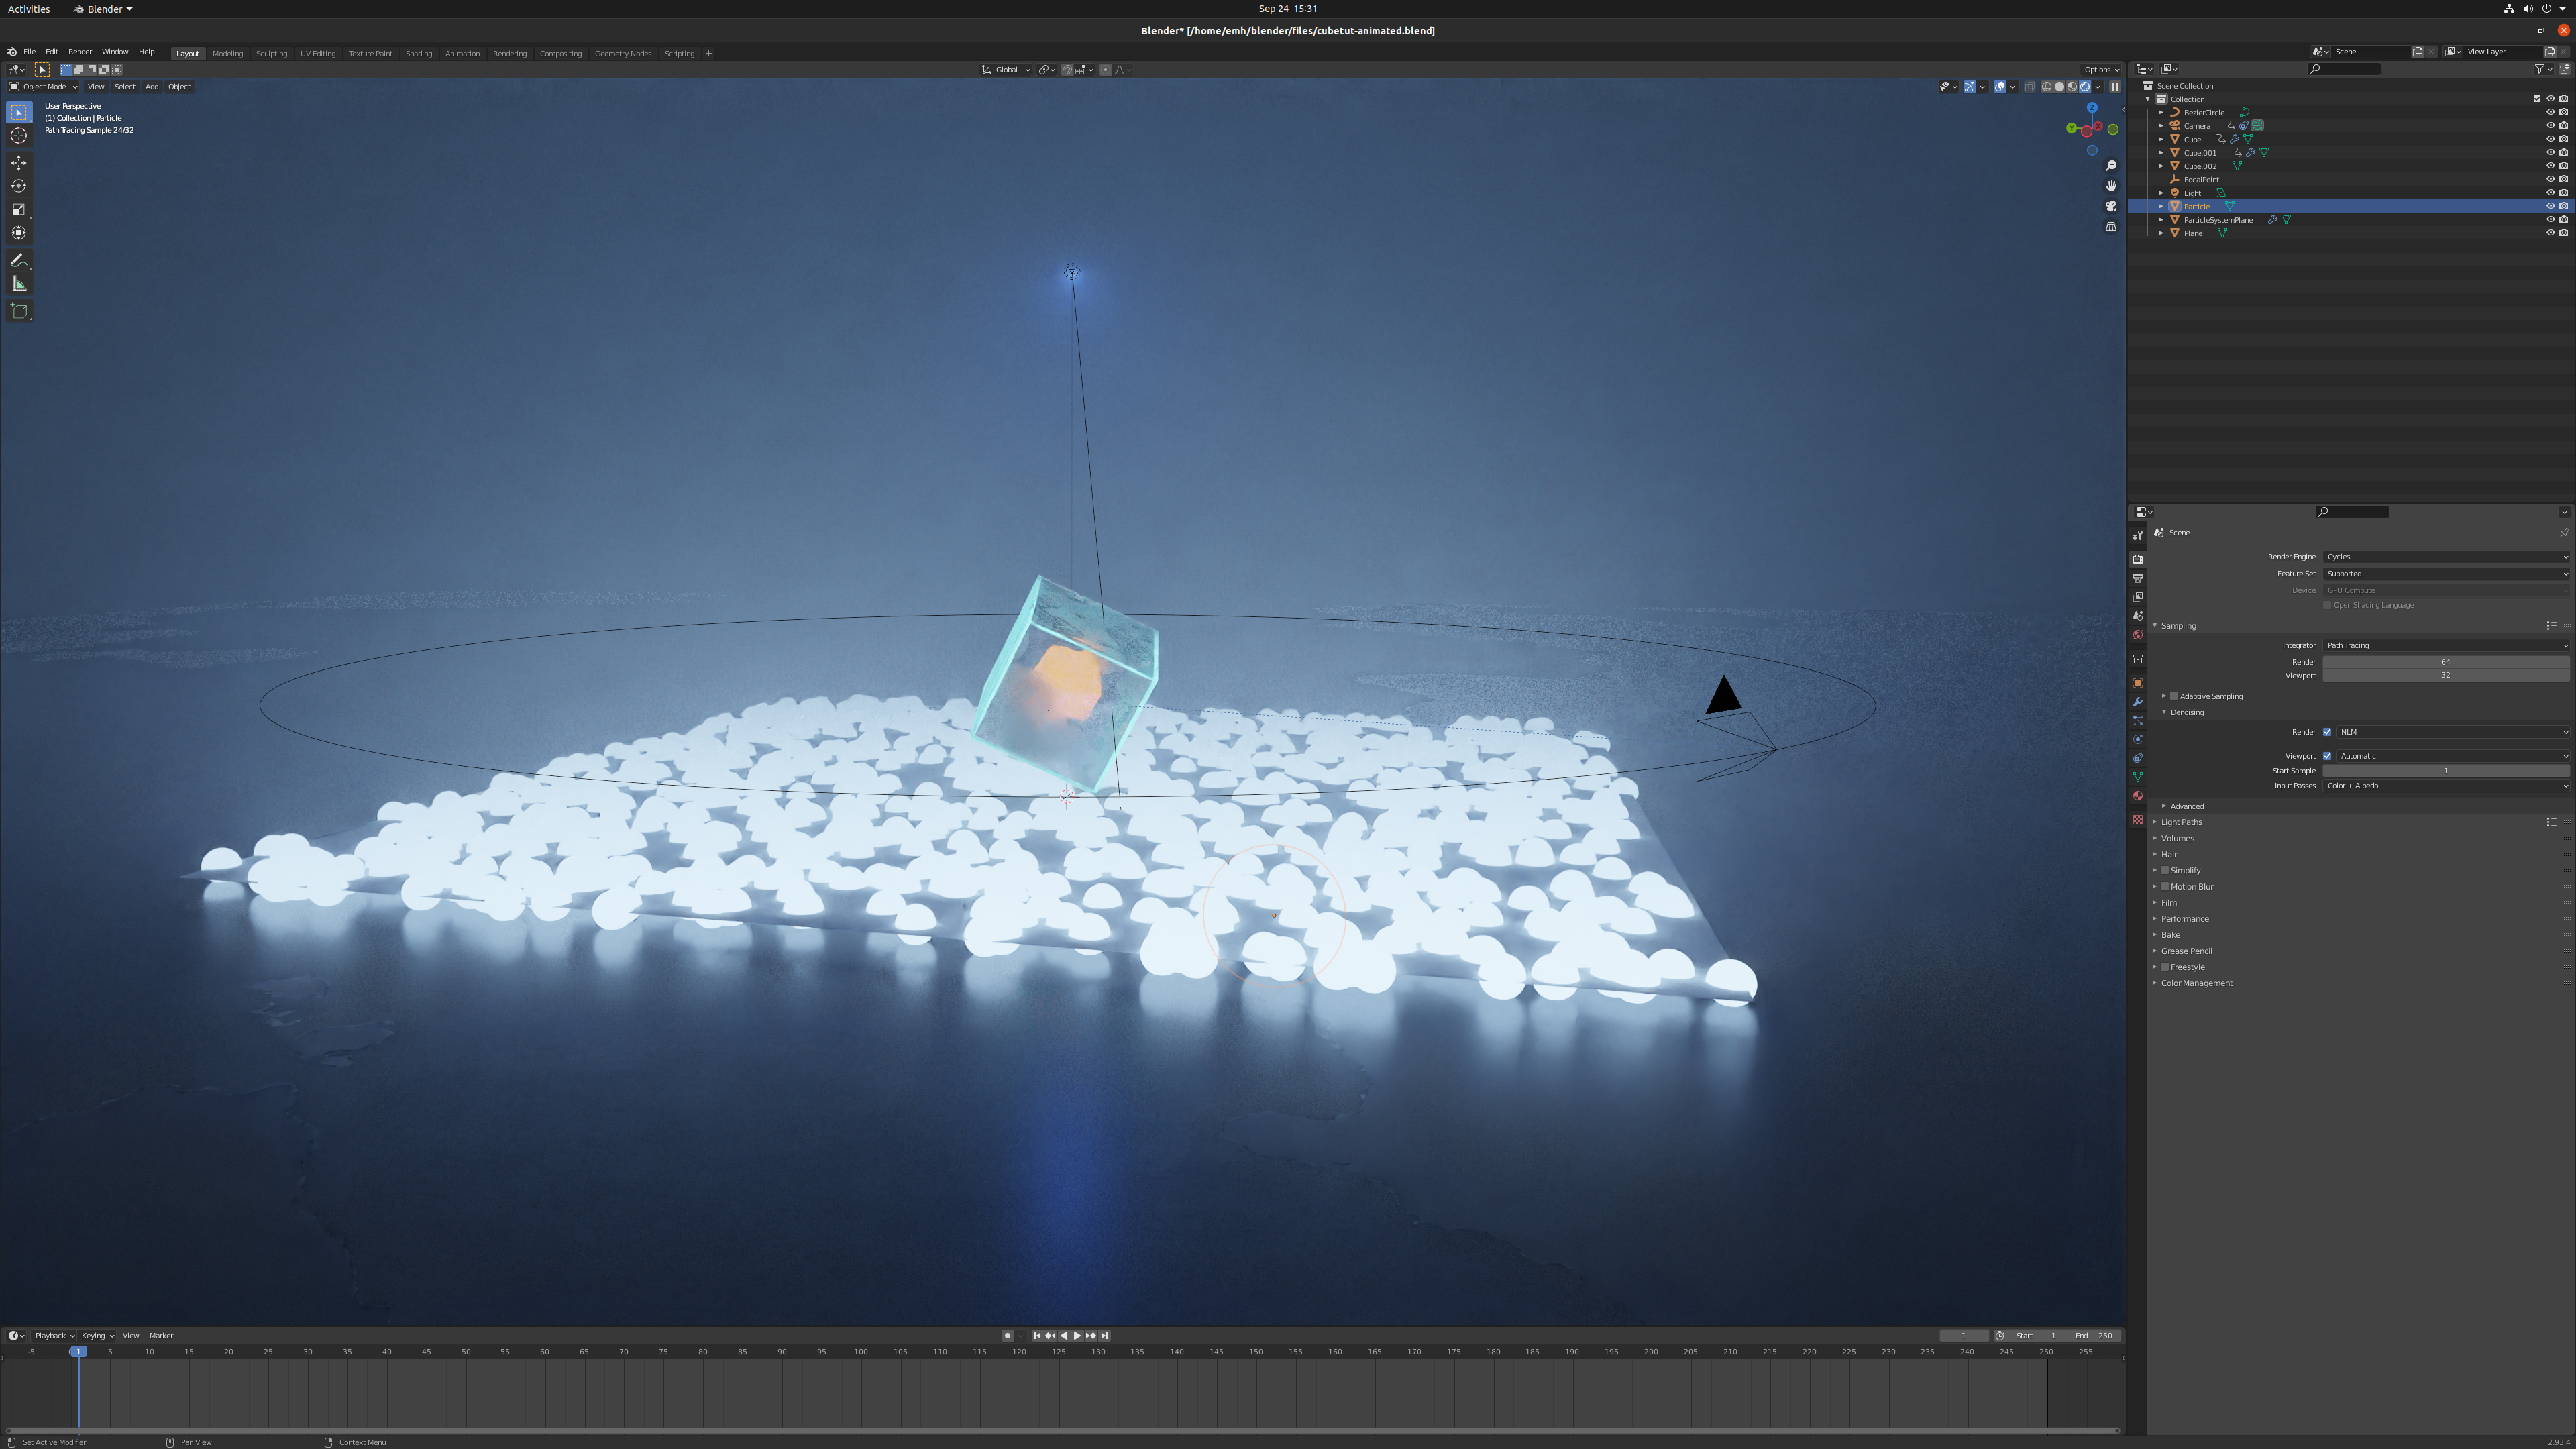
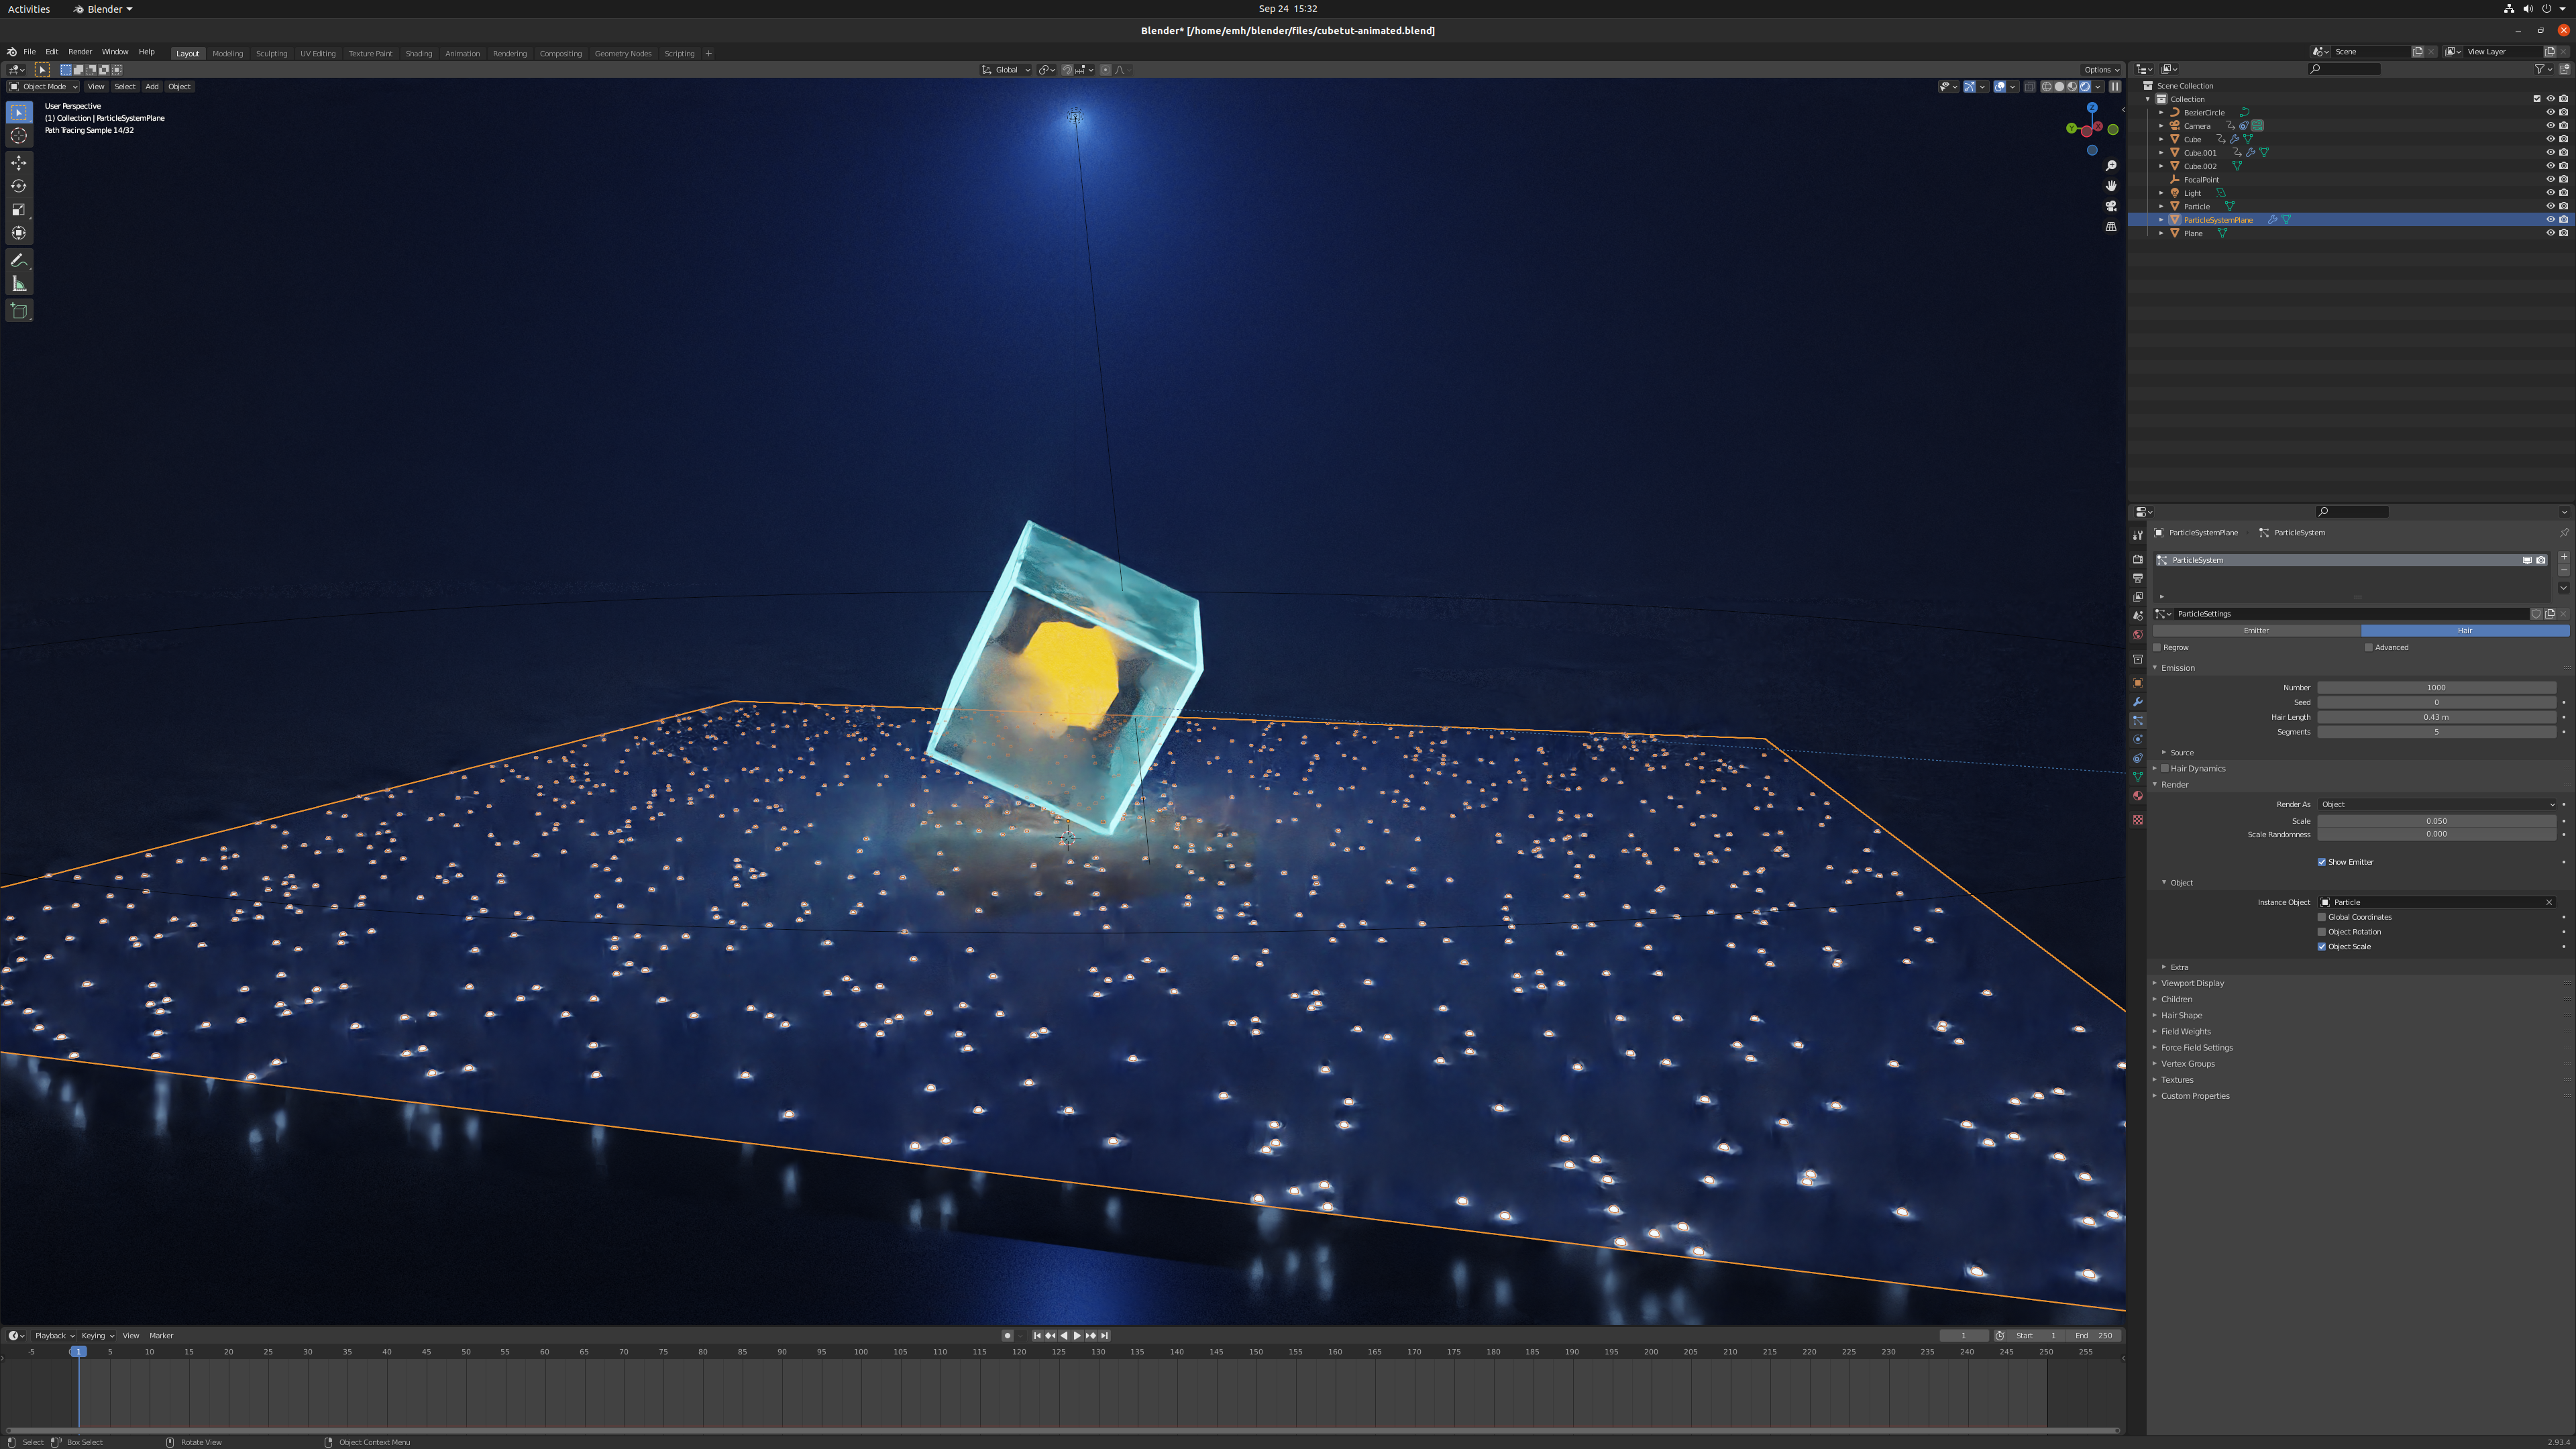
The material of the particles was changed from the default to Emission as a starting point, and given a slight blue tinge and an emission strength of 30. A displacement modifier was then added, and the image below shows how the Apply Scale mentioned earlier is necessary to align the plane and particle positioning (i.e. when the strength of the displacement is set).
A wireframe modifier is then added which allows masking the plane in viewports, just to simplify the final stages of adjustments before rendering. Basically it makes it easier to see what's happening in the viewports.
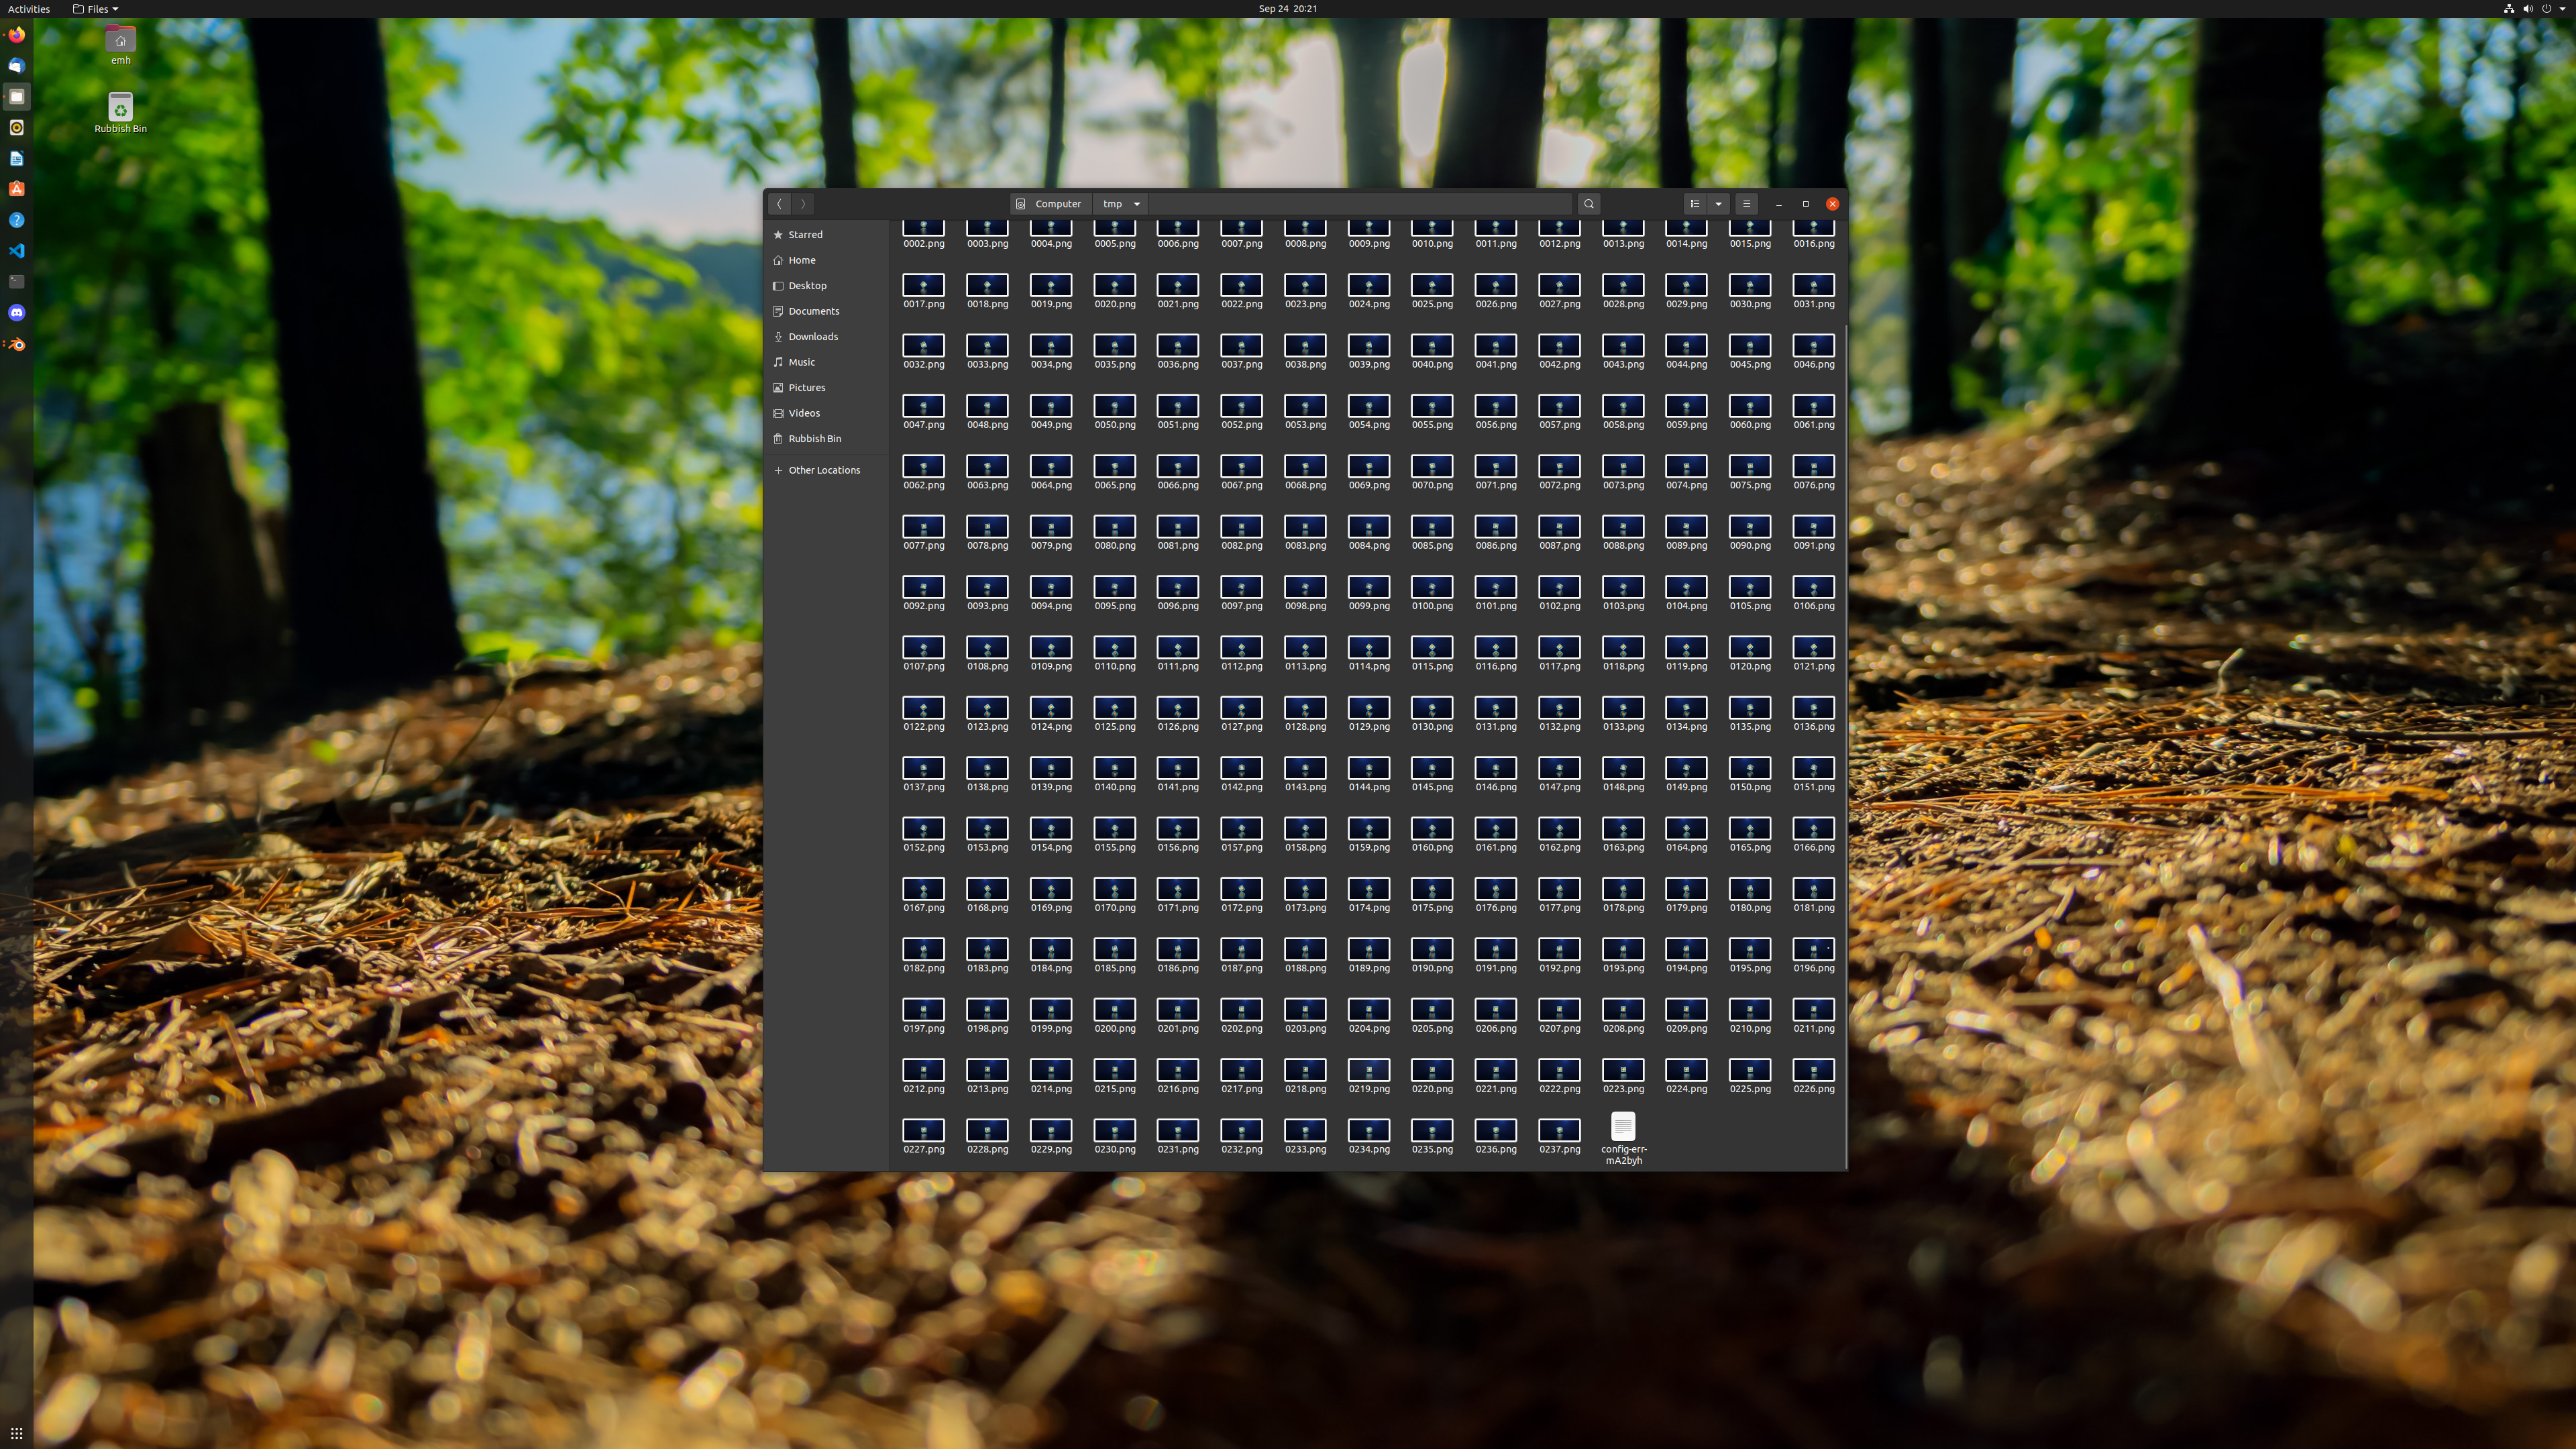
With all that complete, the render process was started and the output was set to produce PNG frames rather than just the finished MPEG file. This was a new process for me and allowed me to use the Sequence Editor (which I'm actually doing as I write this post 🙂 ).
And that is the basic overview of the whole process. Hope you like the final result and please feel free to leave any comments or suggestions for improvements.
See you a bit later guys.
Stay awesome,
EMH
