Experimental Tweaker 😎
Here's another great vibe for your creative (and hopefully productive) work day/night ahead, as I update you on some of my latest adventures in Blender, experimenting with light and material textures.
Let's see...
The Setup
Last night I showed you guys the initial prep for this scene and some trials with multiple lighting sources and effects. That trial led to tonights first experiment with both lighting and texture effects. If you missed the prep work, feel free to check out the post from yesterday. And now I'll walk you through some of the things from this setup.
Shader Graph
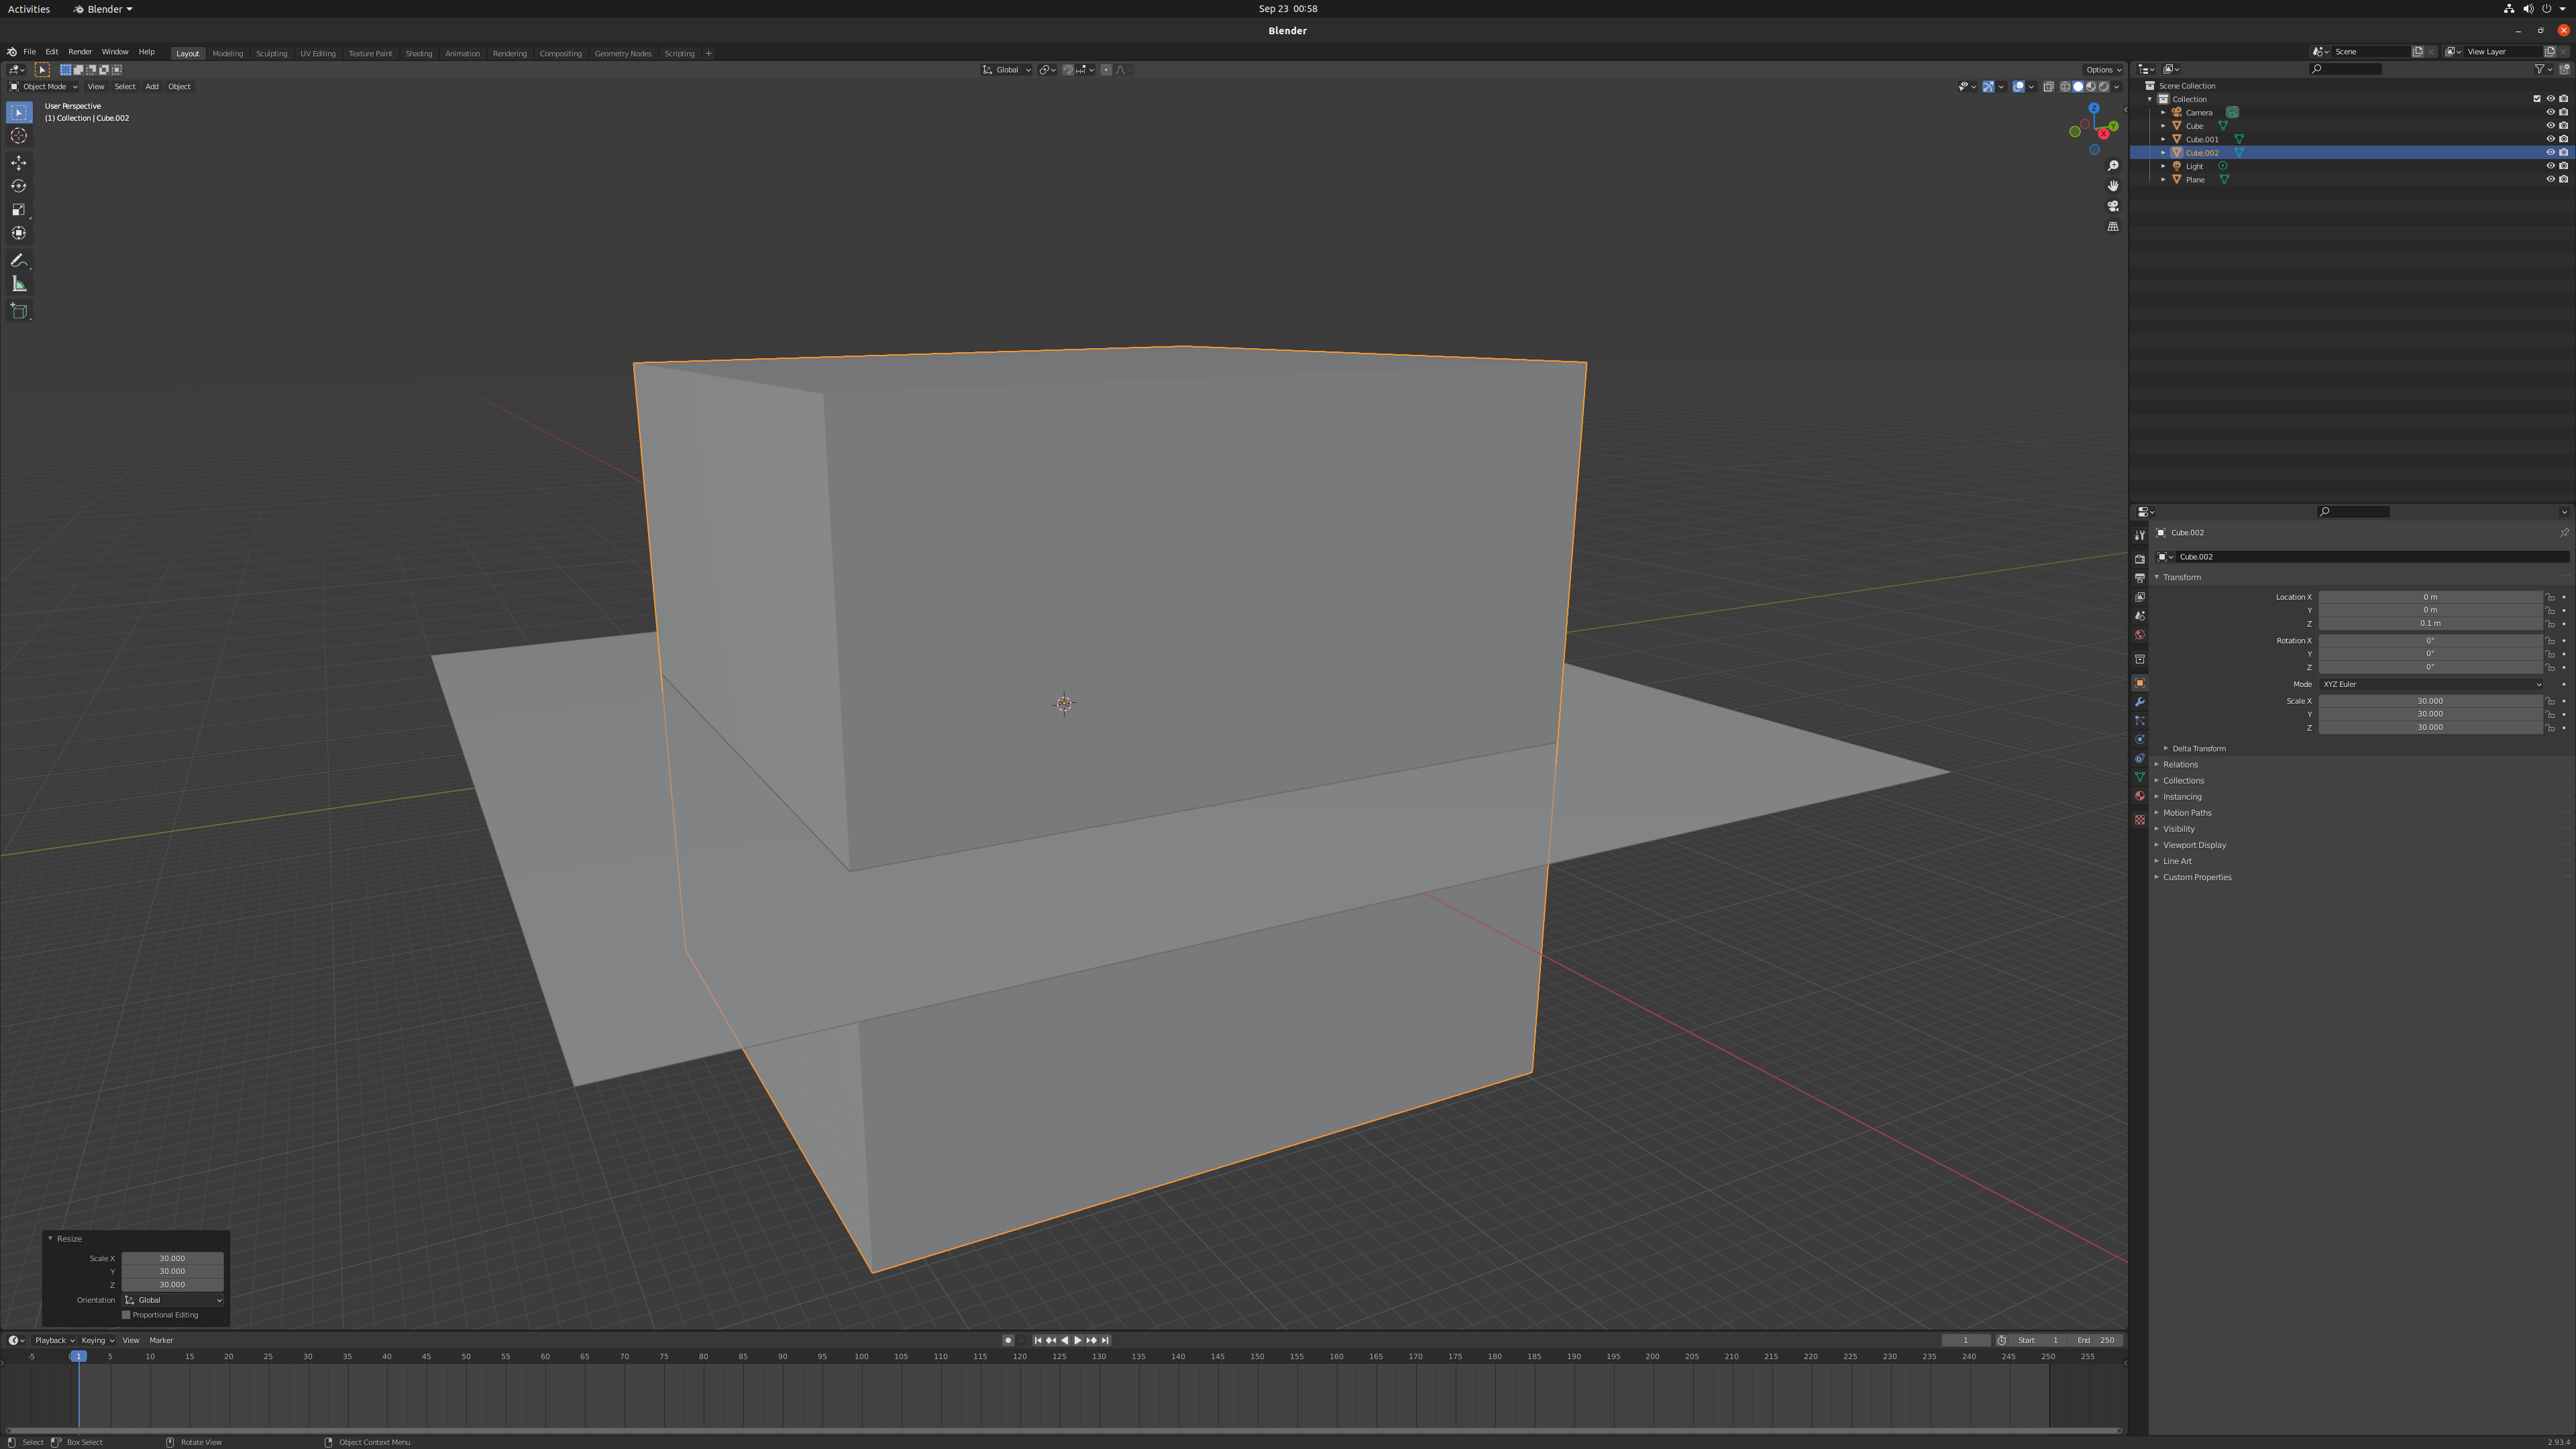
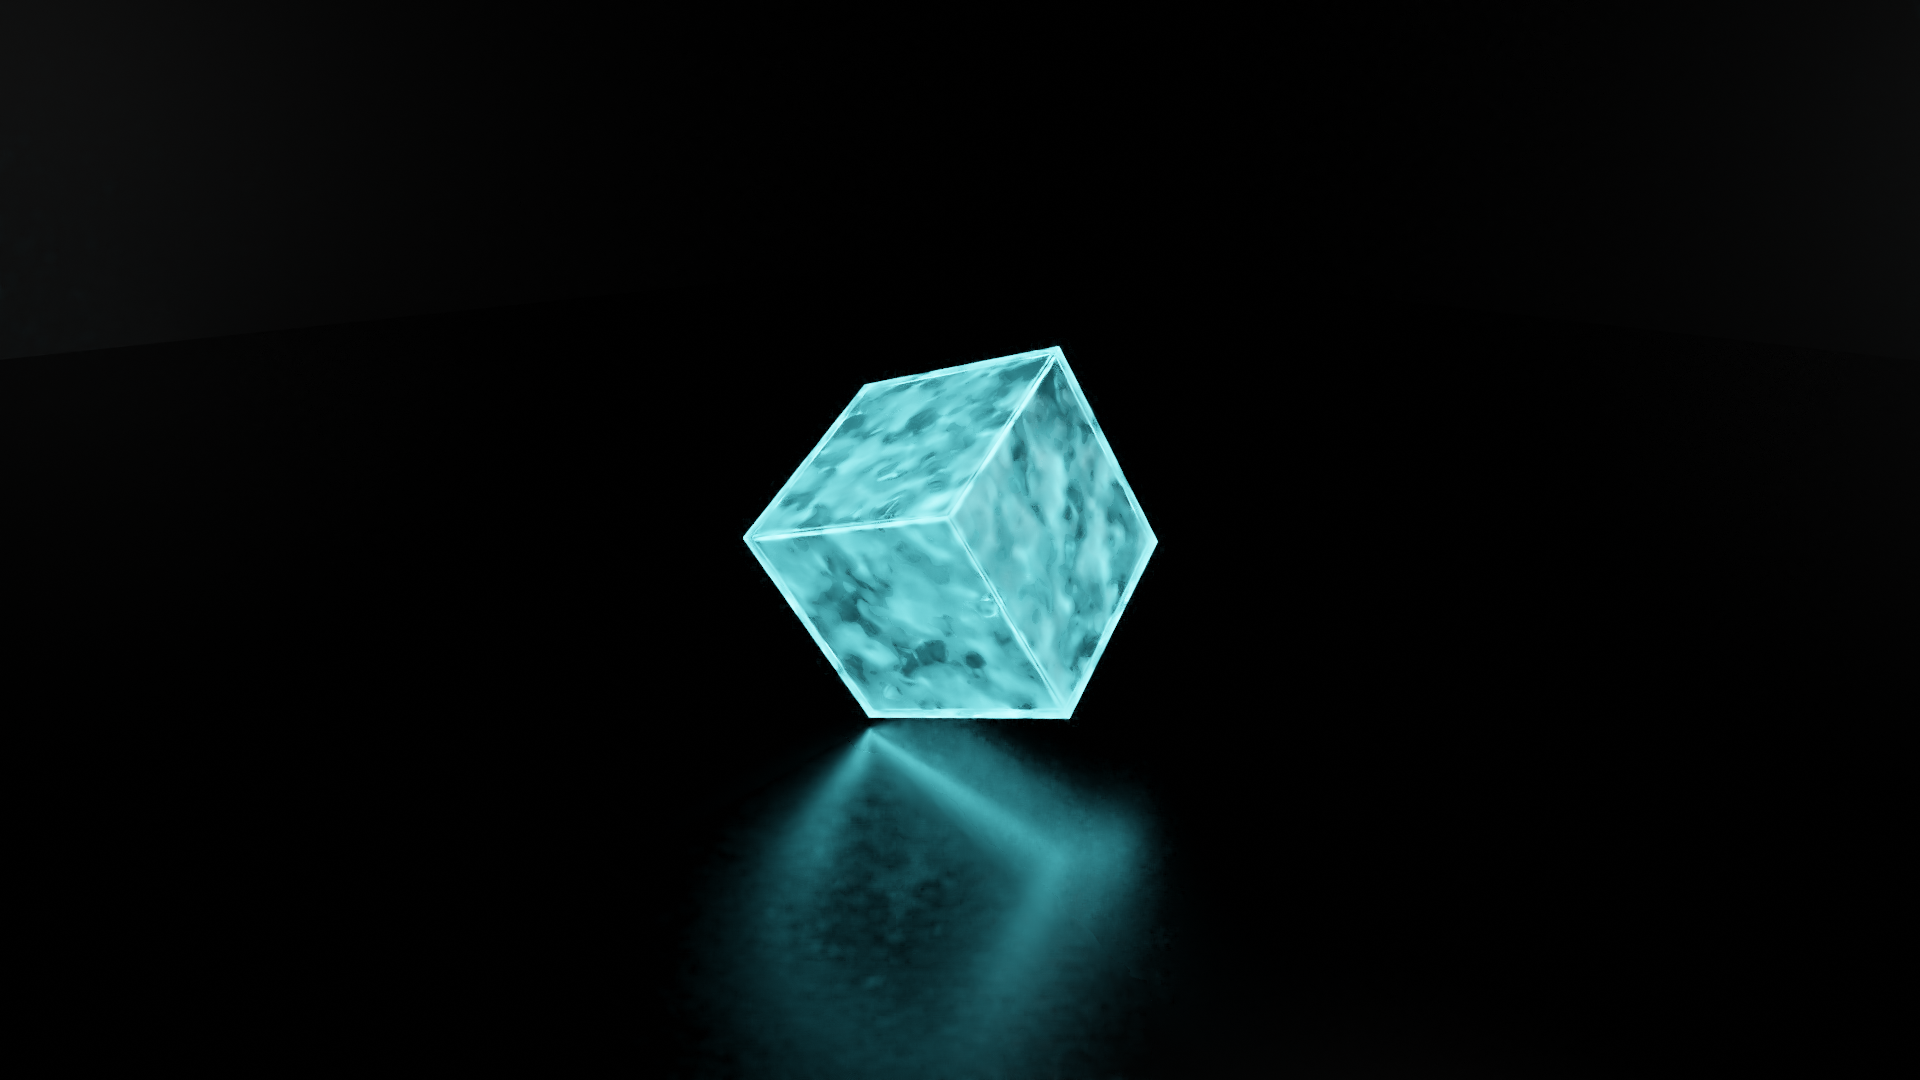
Blender uses nodes of different kinds in shader graphs to generate a huge range of possibilities when it comes to both material and lighting applications. The main ones I'm using are Emission, Mix Shader, Noise Texture, Muscgrave Texture, Color Ramp and Bump nodes. You can see to the left how the process begins. Notice also that the positioning of the objects closer to the plane helps enhance the reflection of light and the object's shape and lighting.
Texture Options
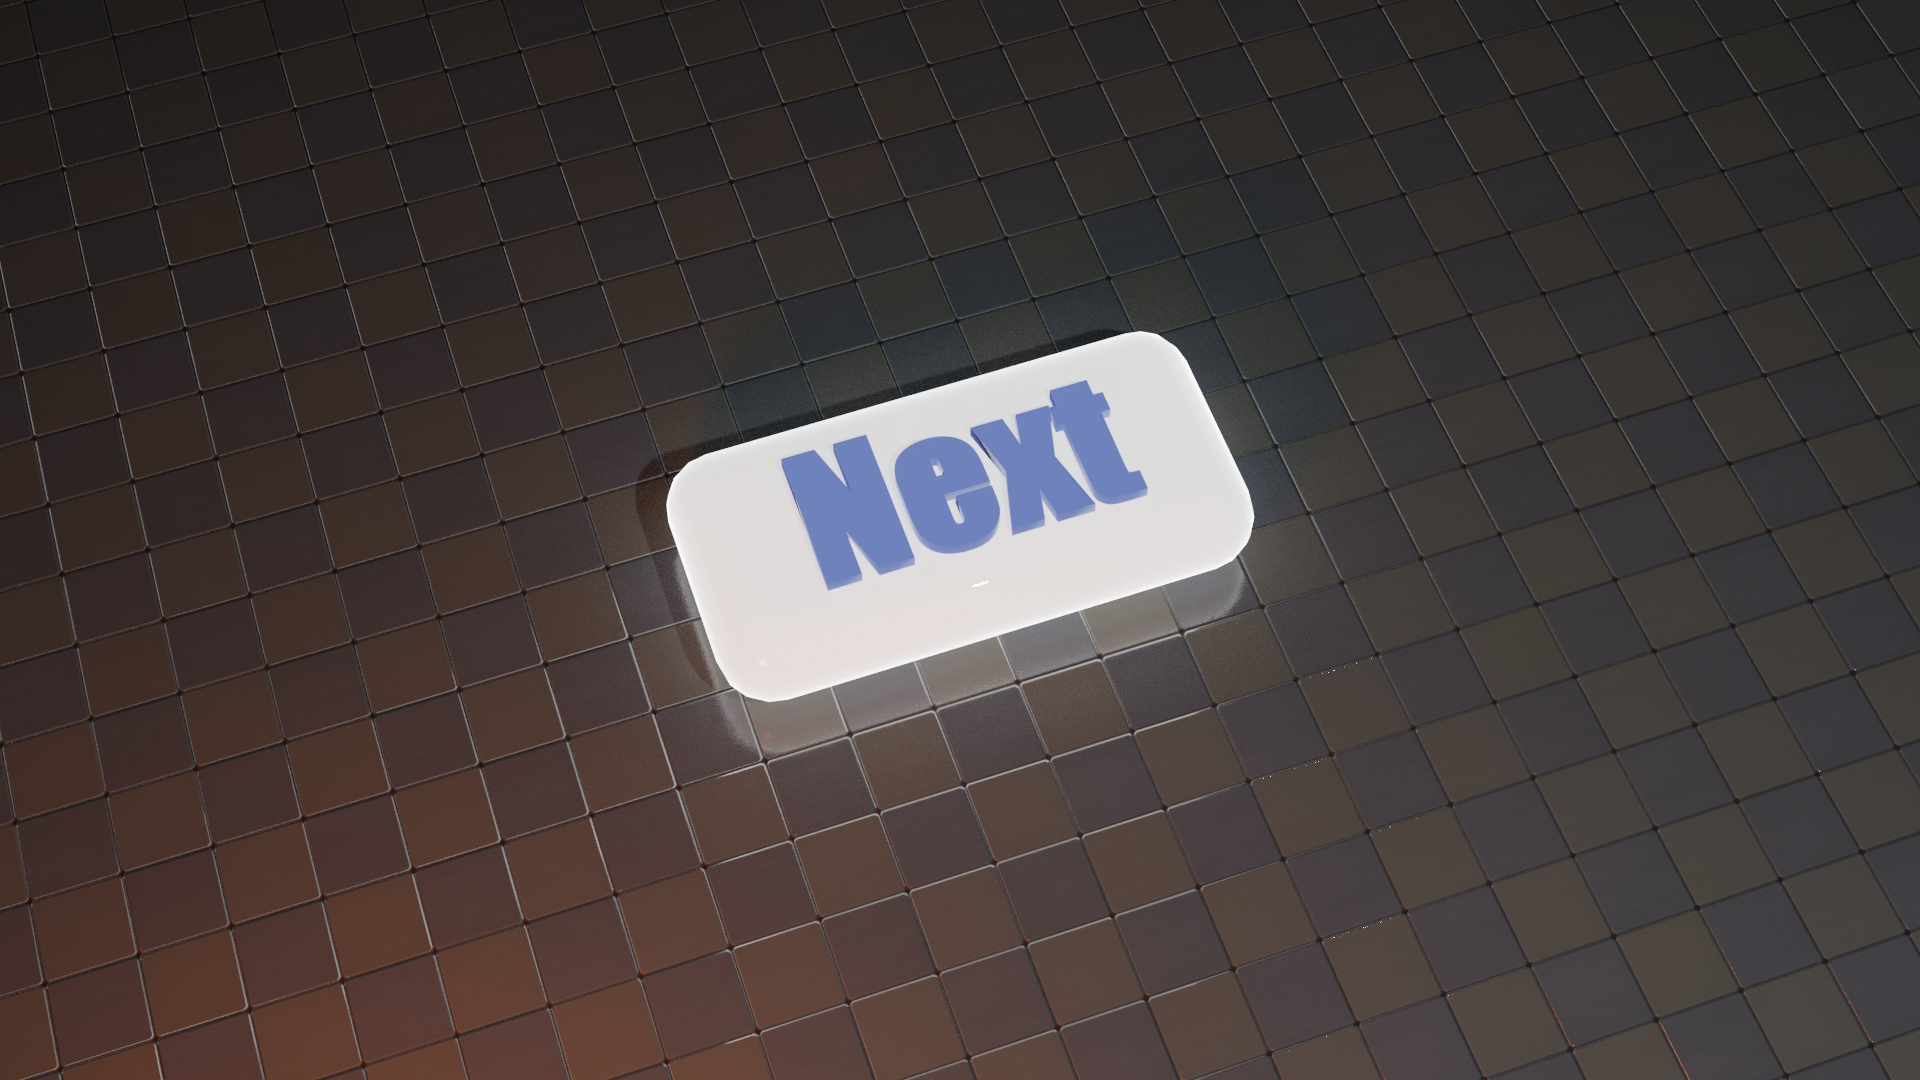
When it comes to applying textures to different materials, you can either download a pre-built file like the one used for the tiled ground in the image to the right, or you can experiment with creating your own effects using nodes as already described. Having tried both now, I can see times when each would be beneficial. The main consideration is the end result and effect required for your scene.
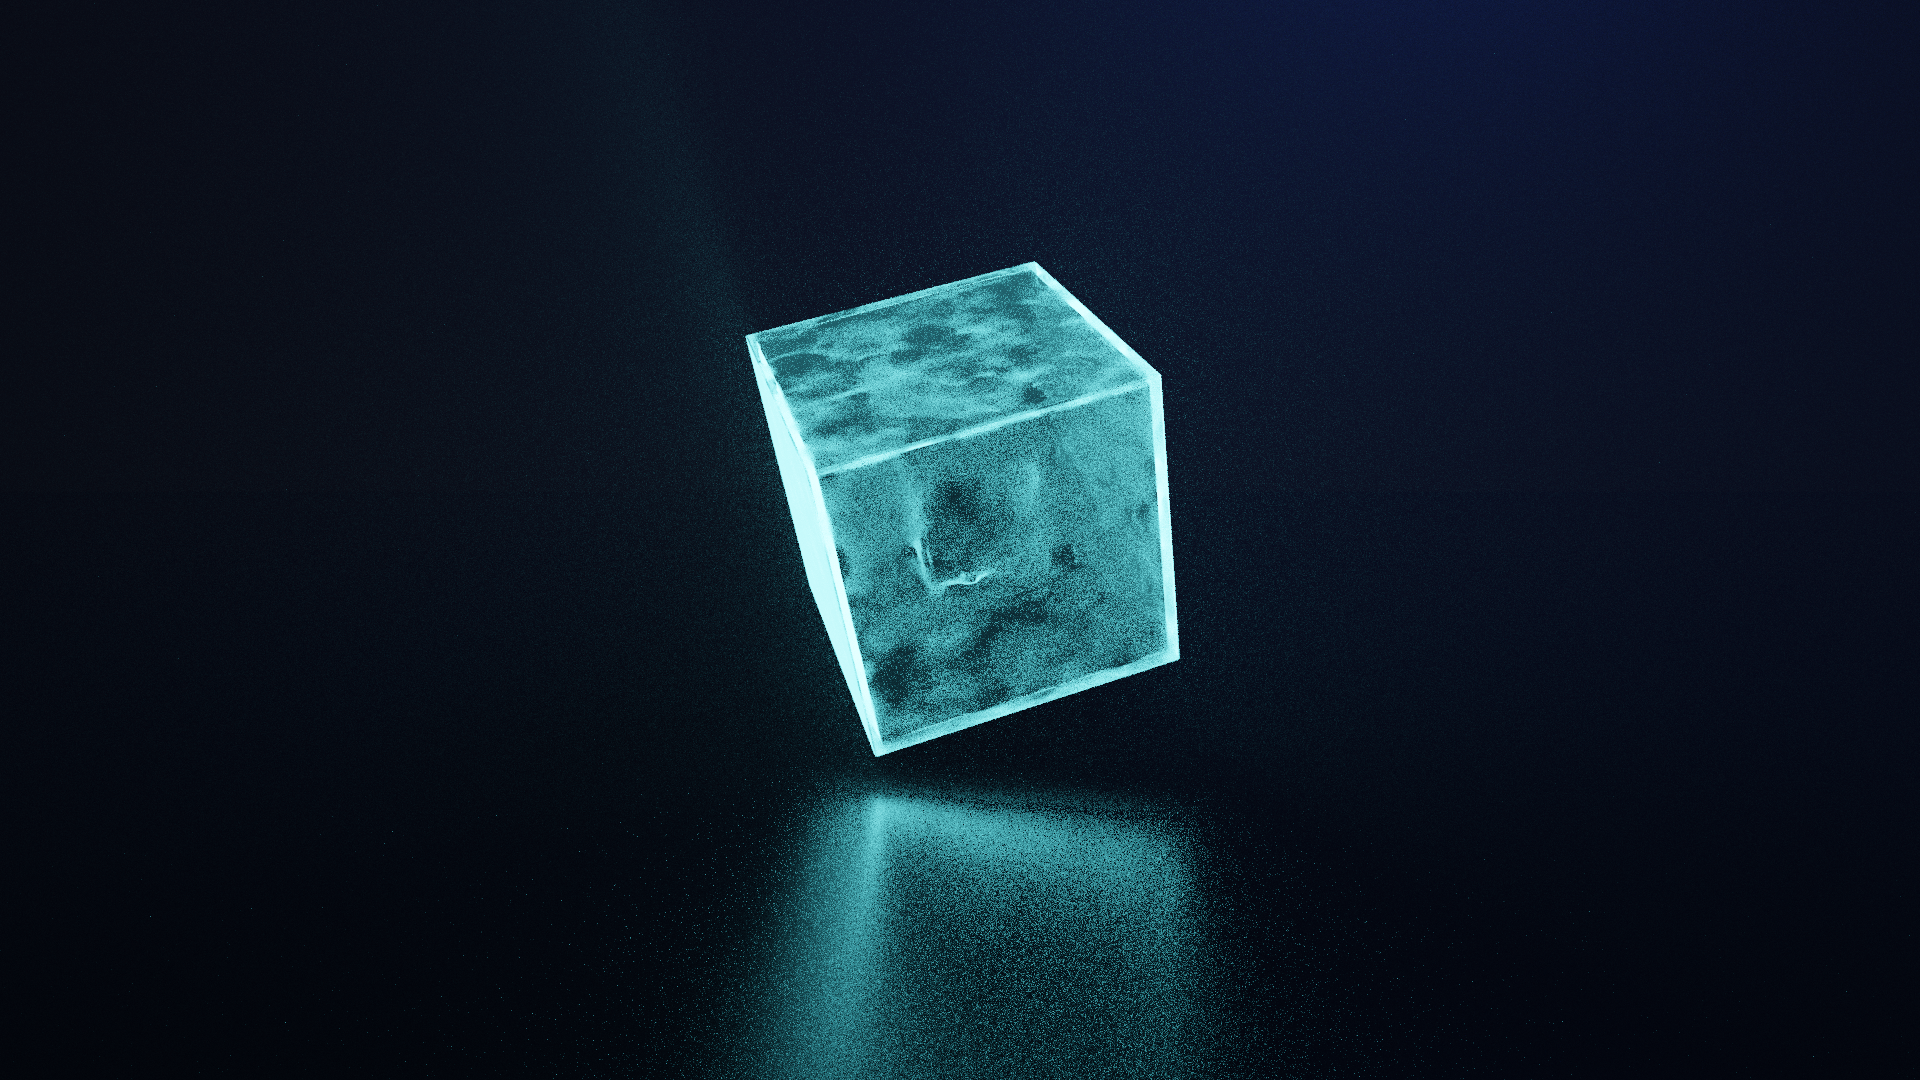
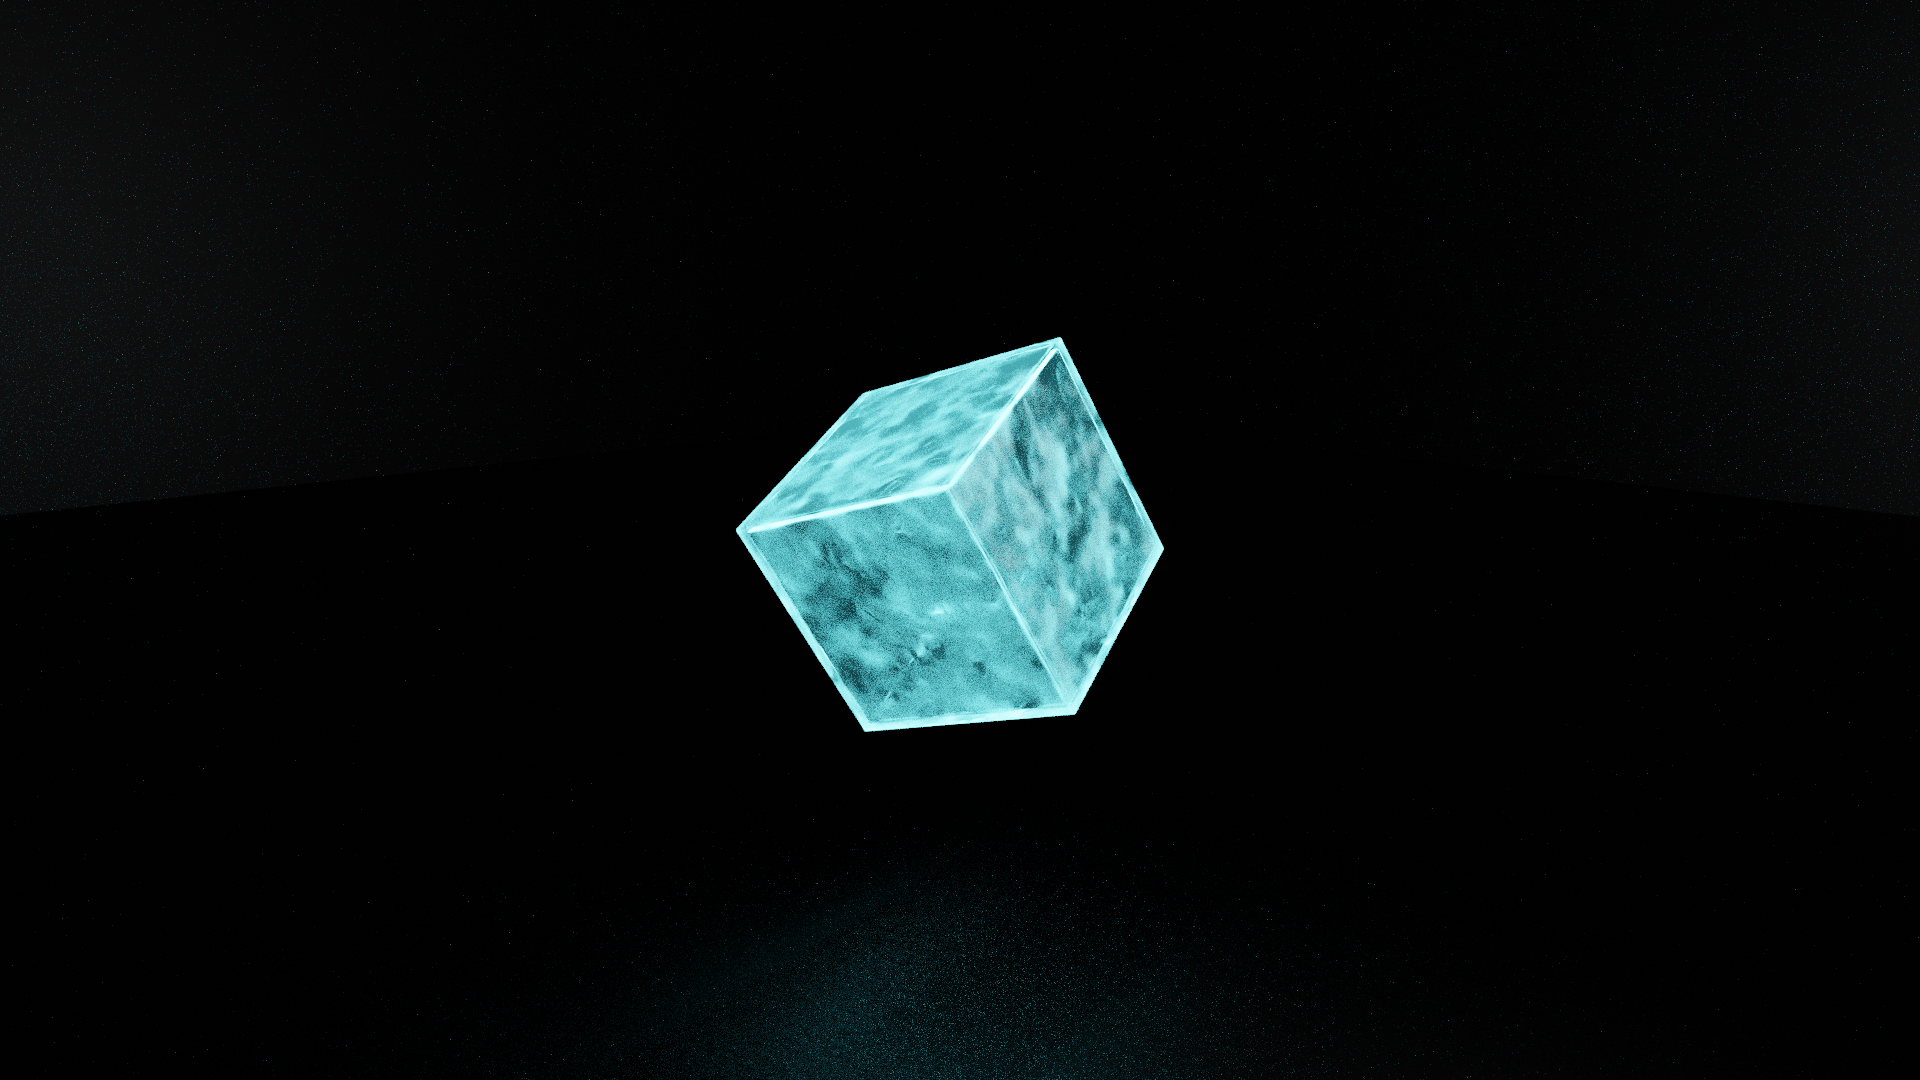
For the larger cube in this scene, the surface received a combination of noise and muscgrave textural and colour distortion effect to give the final frosty and rippled/bumpy texture you see in the image.
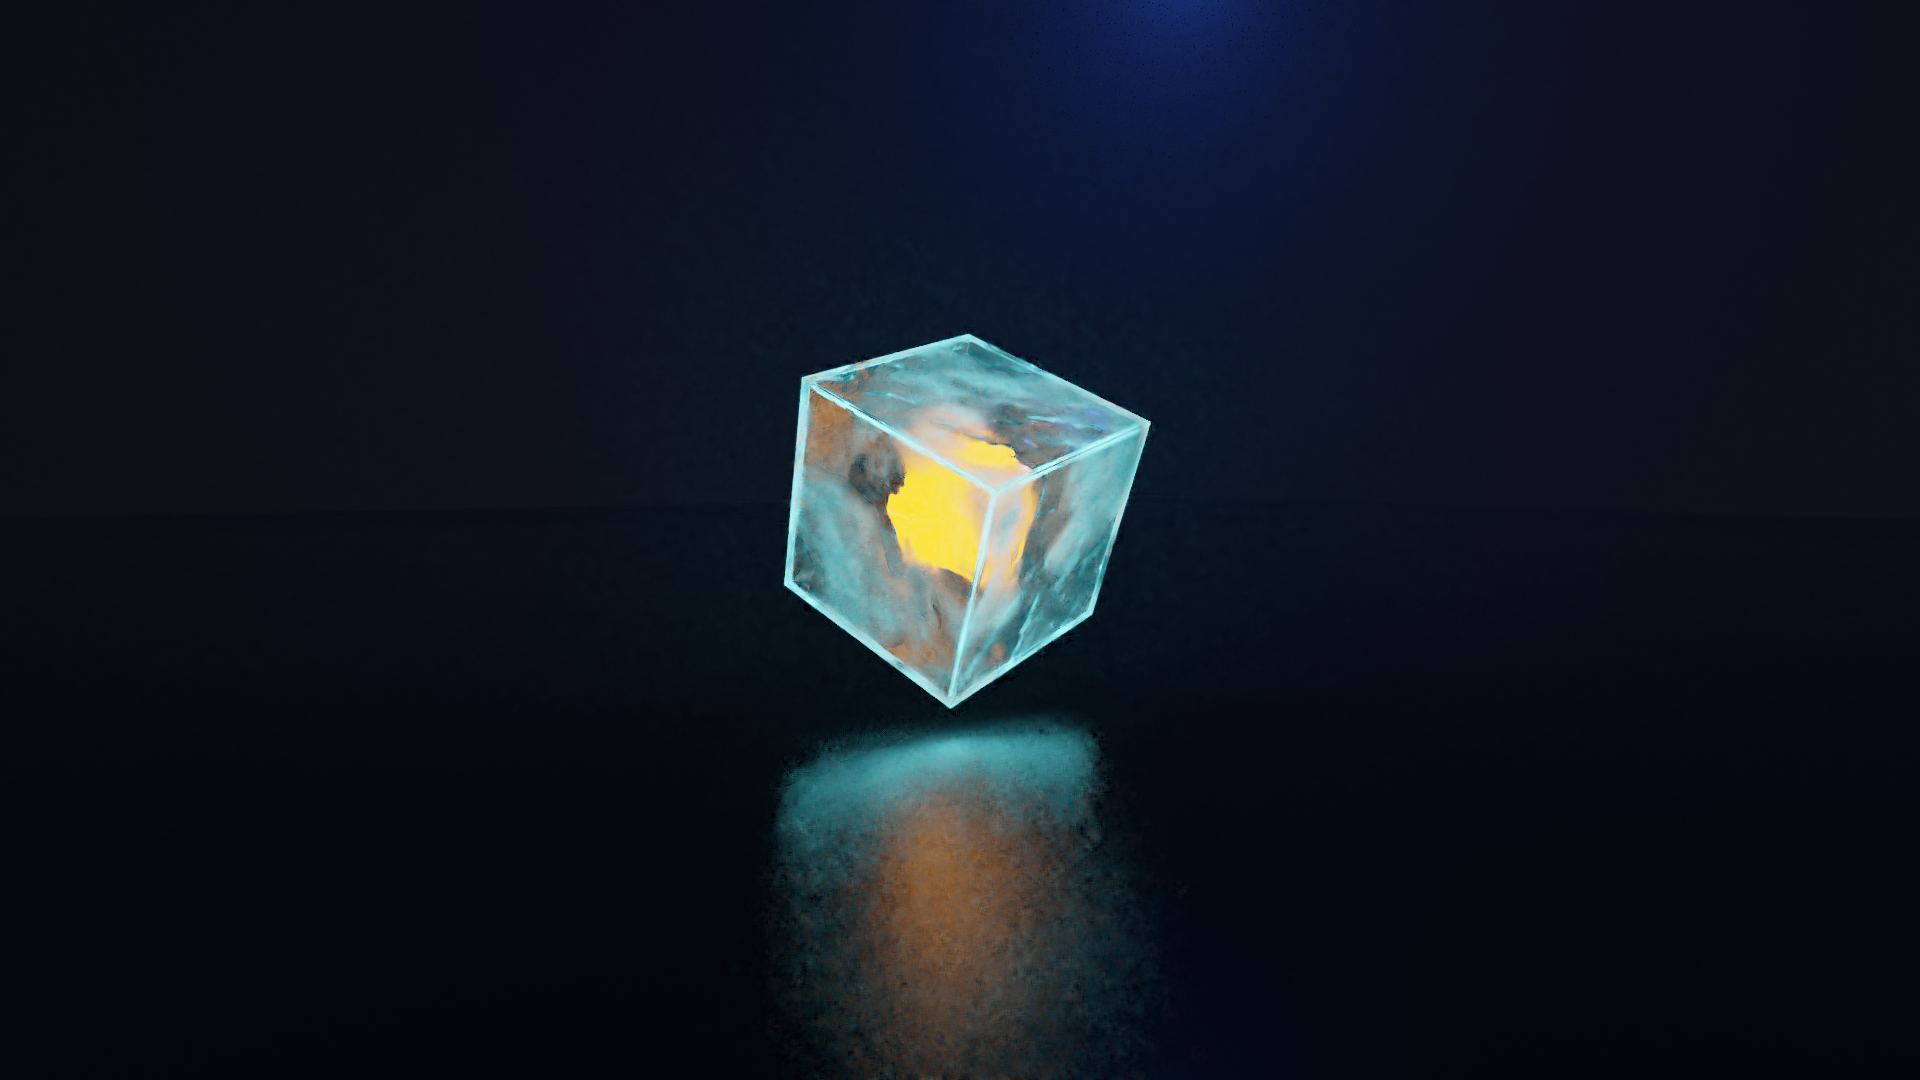
The final step in this scene was setting the inner cube's material and lighting using a very similar process to that described above for the larger cube, albeit with fewer nodes since it is contained behind the latter's effects anyway.
Animation Prep
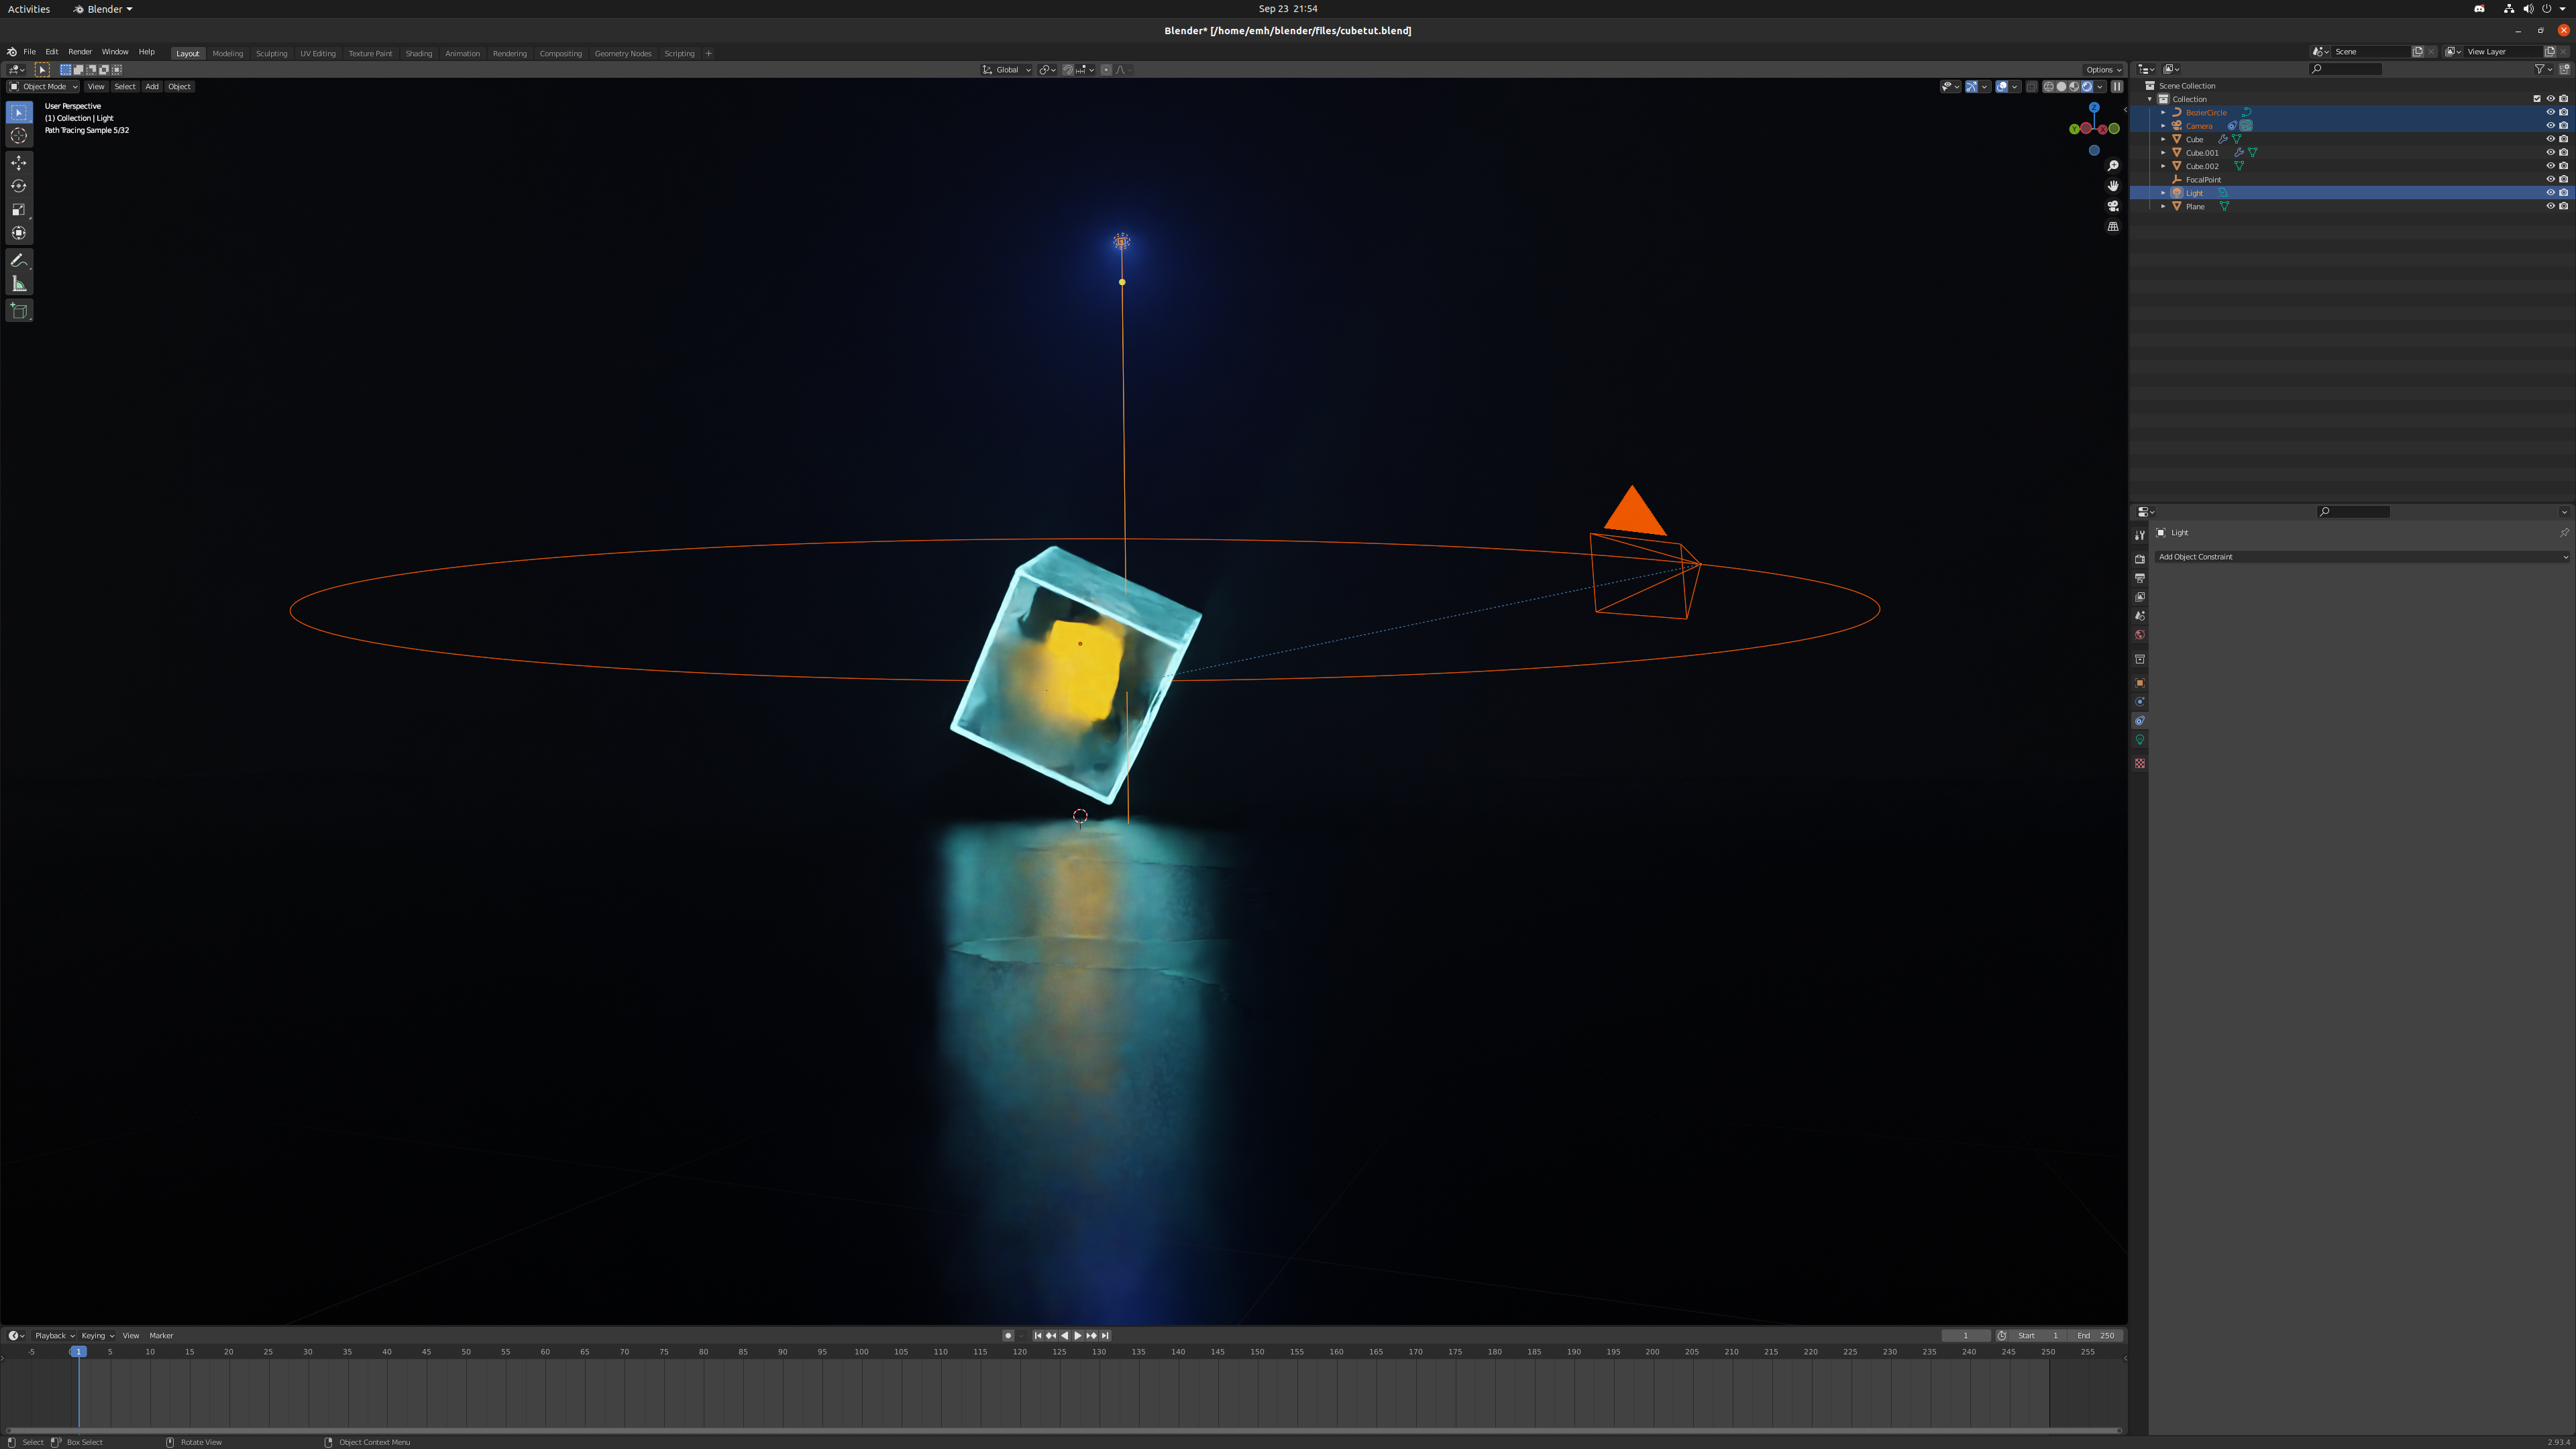
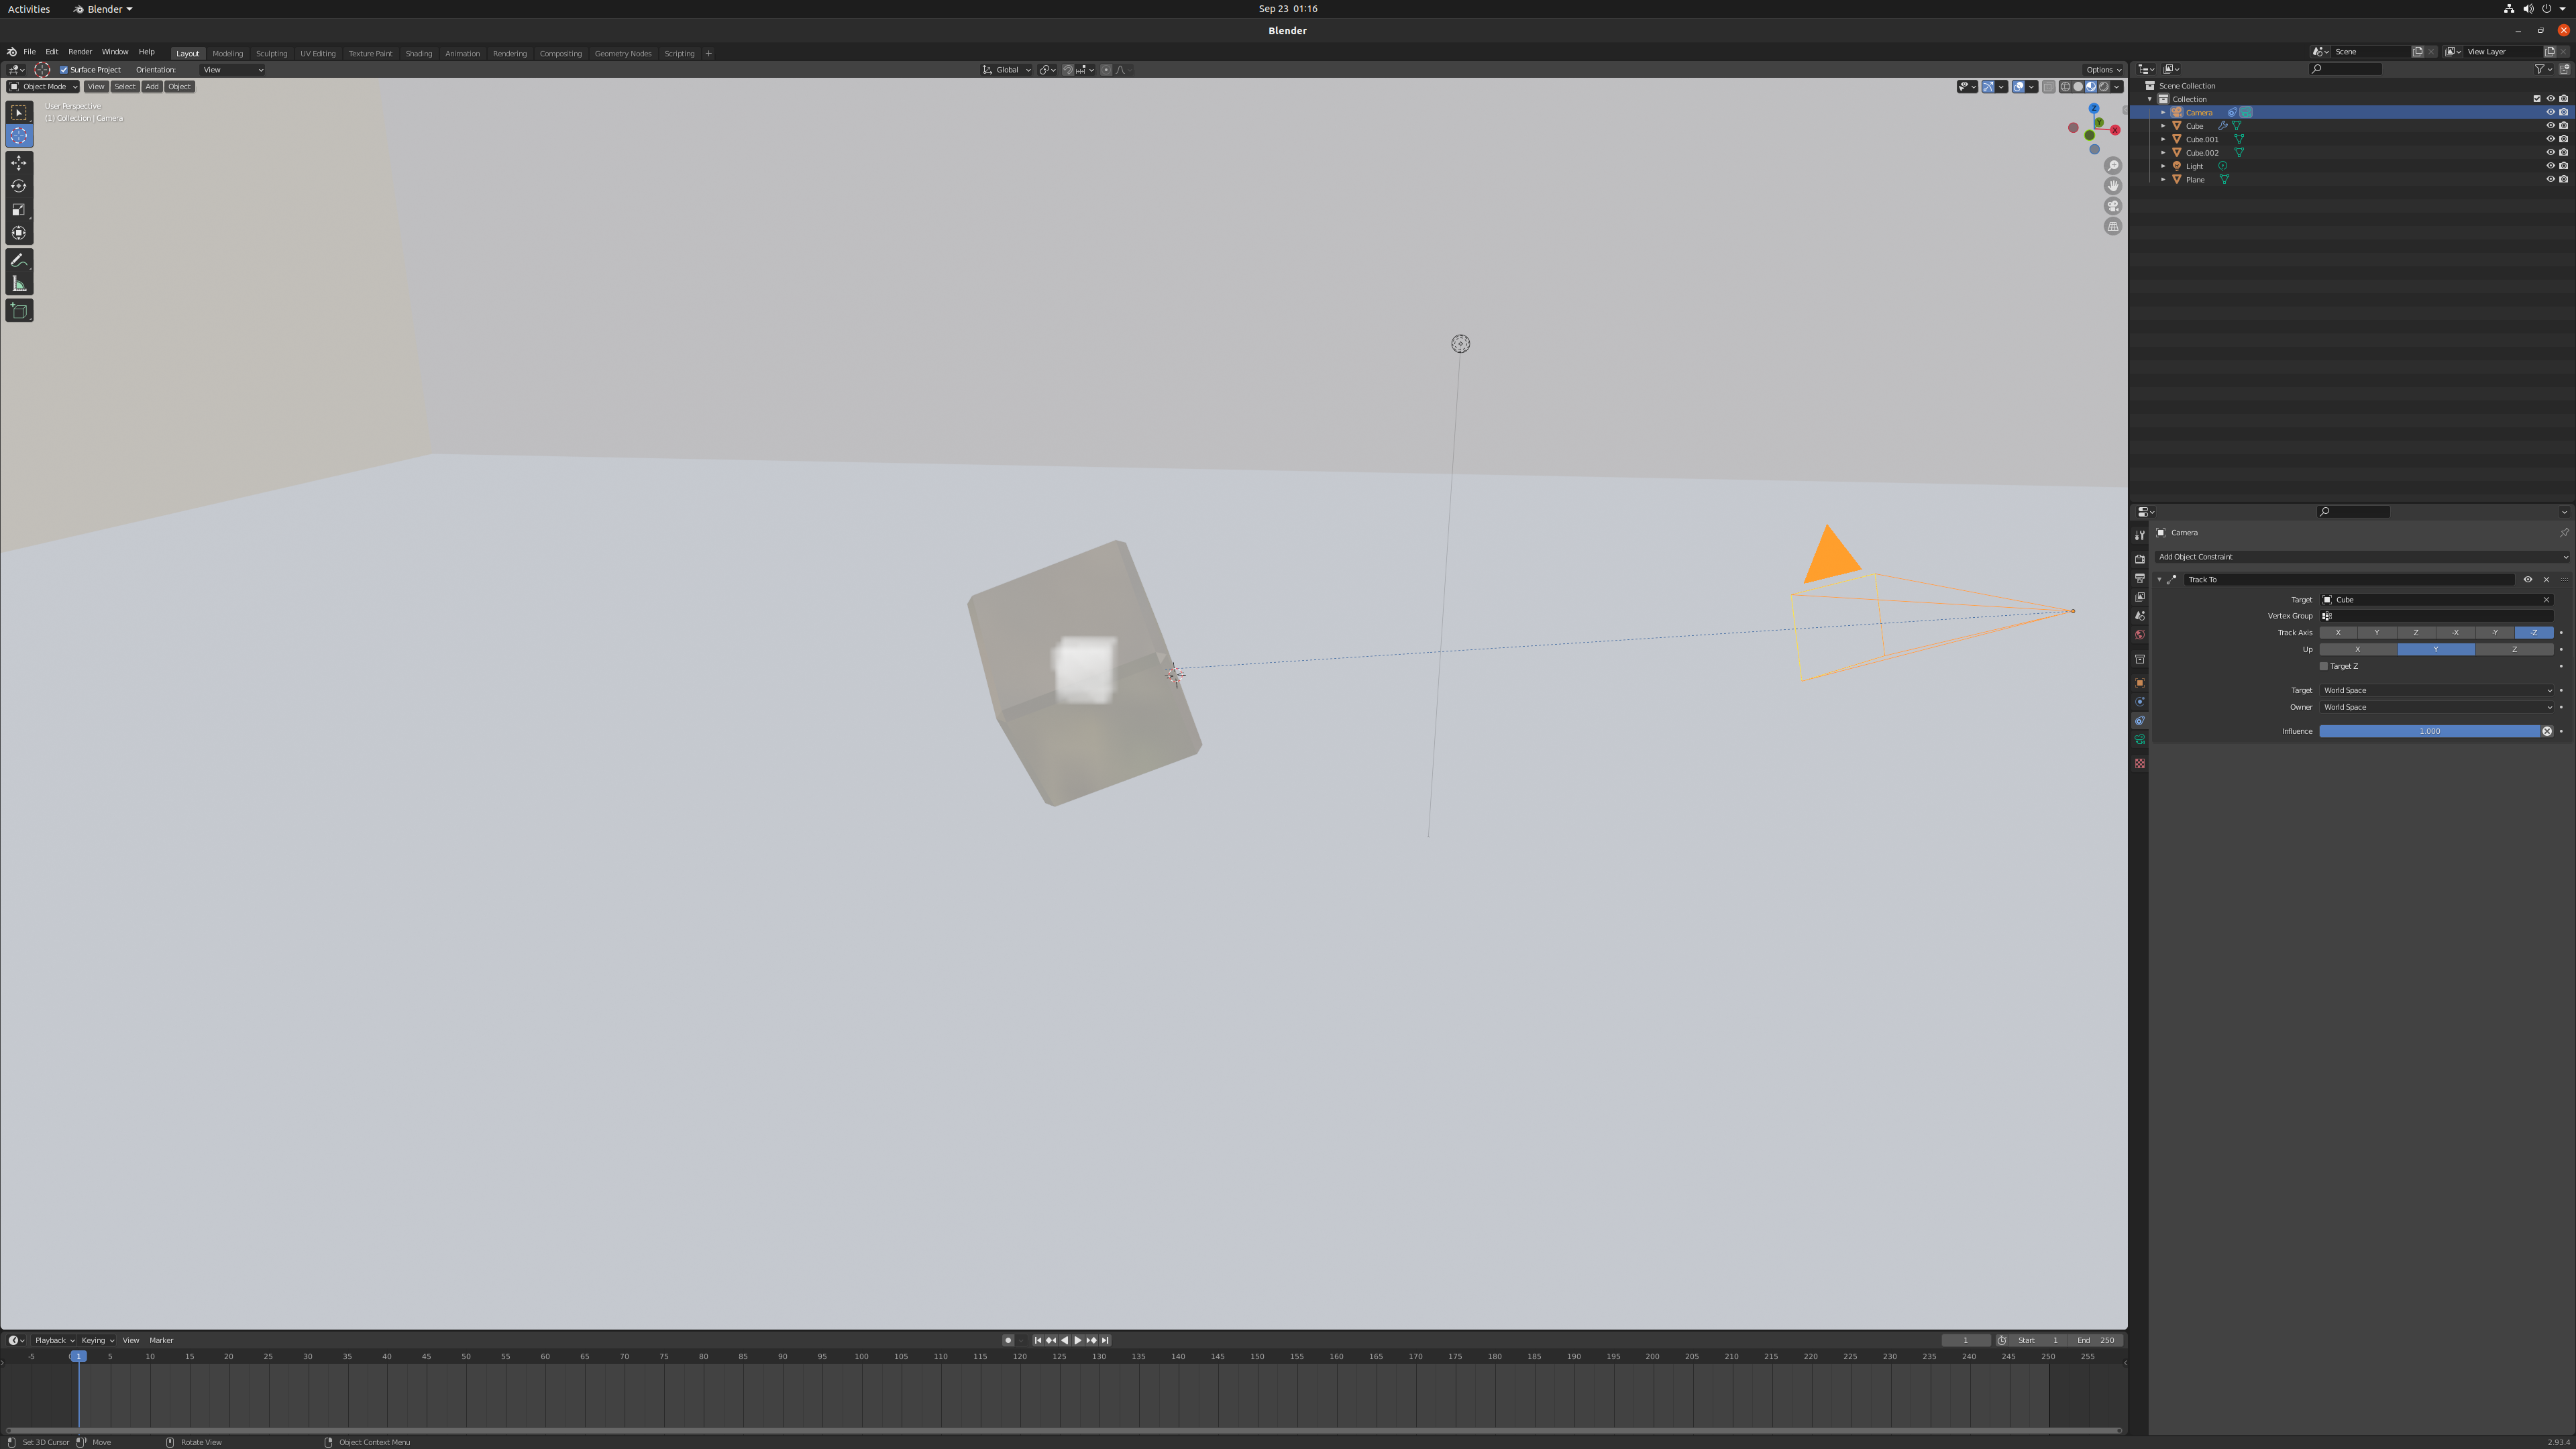
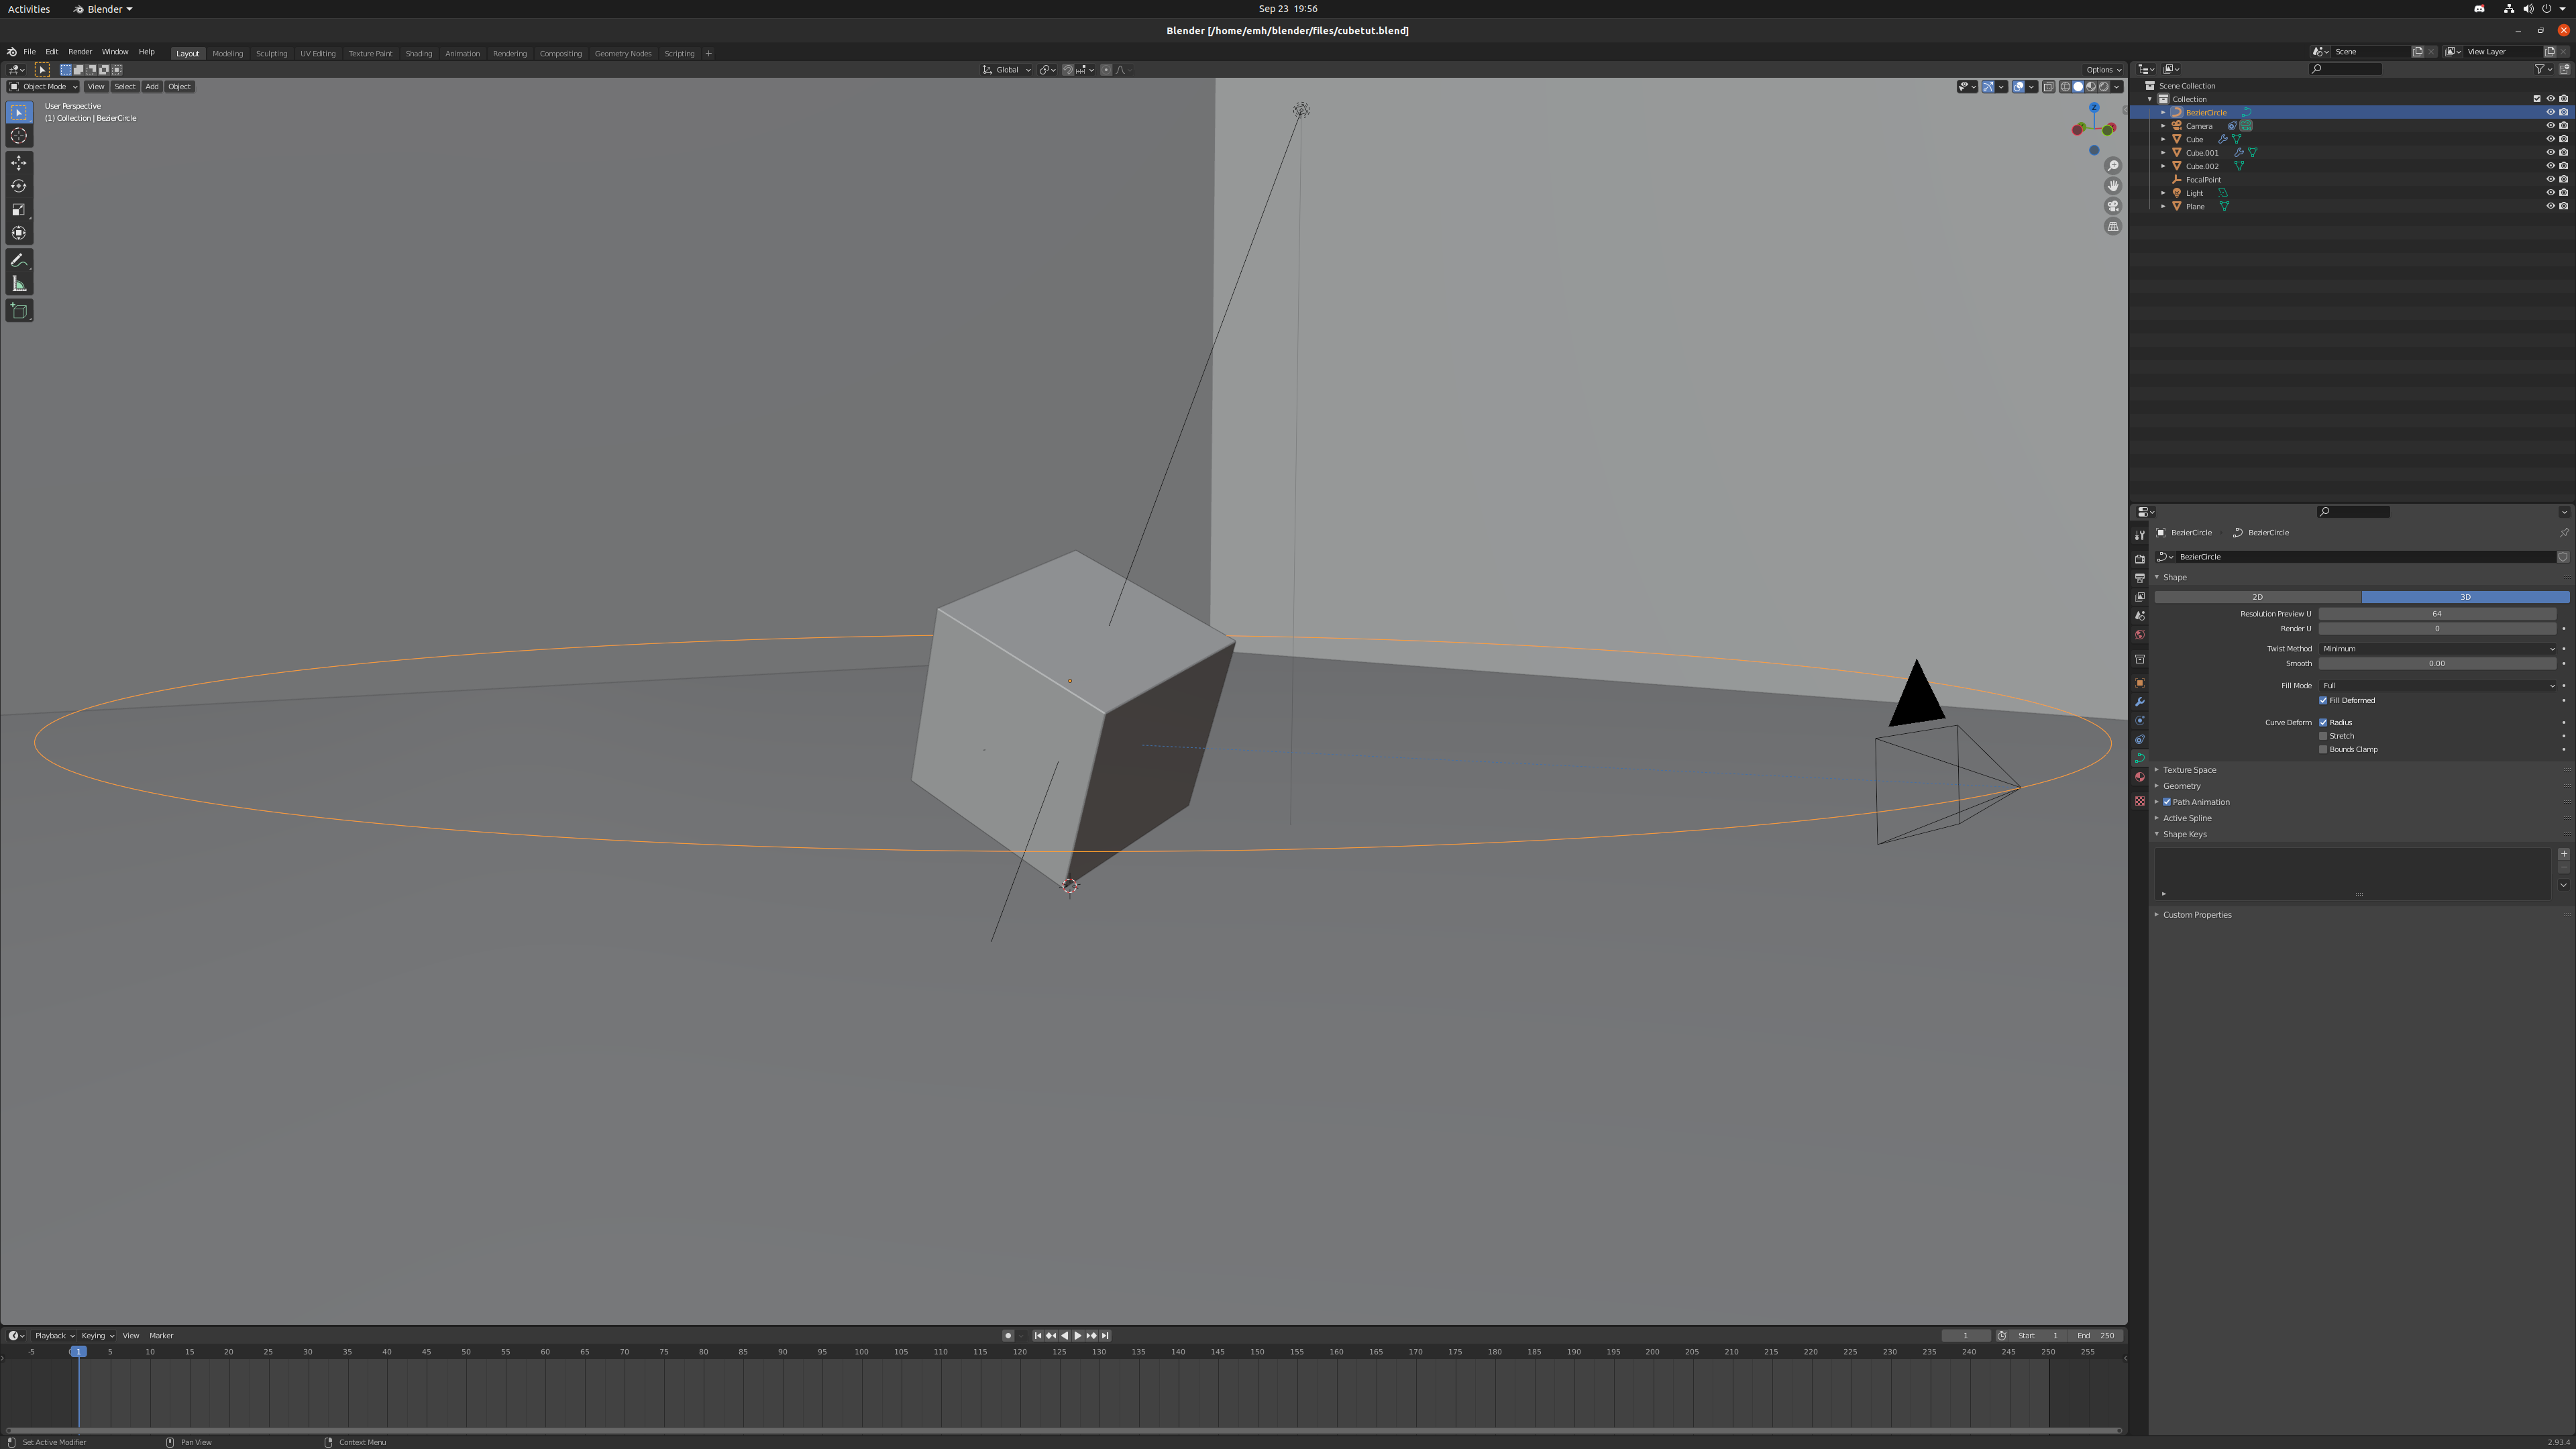
In terms of animation, the work involves setting up keyframes similar to any other program, where each element is manipulated in the way that suits. In the images to the left and below, you can see the camera, the path it follows and the area light added for background effect.
There's so much more that can be done with these kinds of scenes and animation that I've become addicted to finding out as much as I can about all of it. So my own learning journey in Blender continues. How about yours? Curious yet?
Stay awesome,
EMH
