Creative Vibes 😜
So I've been playing around with Blender for a little while today, and I thought I'd share a bit of progress with you guys. Please enjoy this great track while I explain the large (but short) video below...
Animated Logo - Stage 1
The video below is the first stage of an animated sequence focused purely on the MOOVPAD logo and without any sound added as yet. The work was completed in Blender and was my first attempt at using a lot of new techniques that I hadn't even heard of before.
I've tried to breakdown the overall process into major steps for illustrative purposes just to demo the kind of work involved. Now although this took me around an hour of actual work this first time, it should really only take about 15 minutes or so with experience.
Still, new skills learned and I already know of a few tricks to improve the result in the future (e.g. having the logo "blink" in rather than starting off at full brightness).
Step 1 - Forming Objects
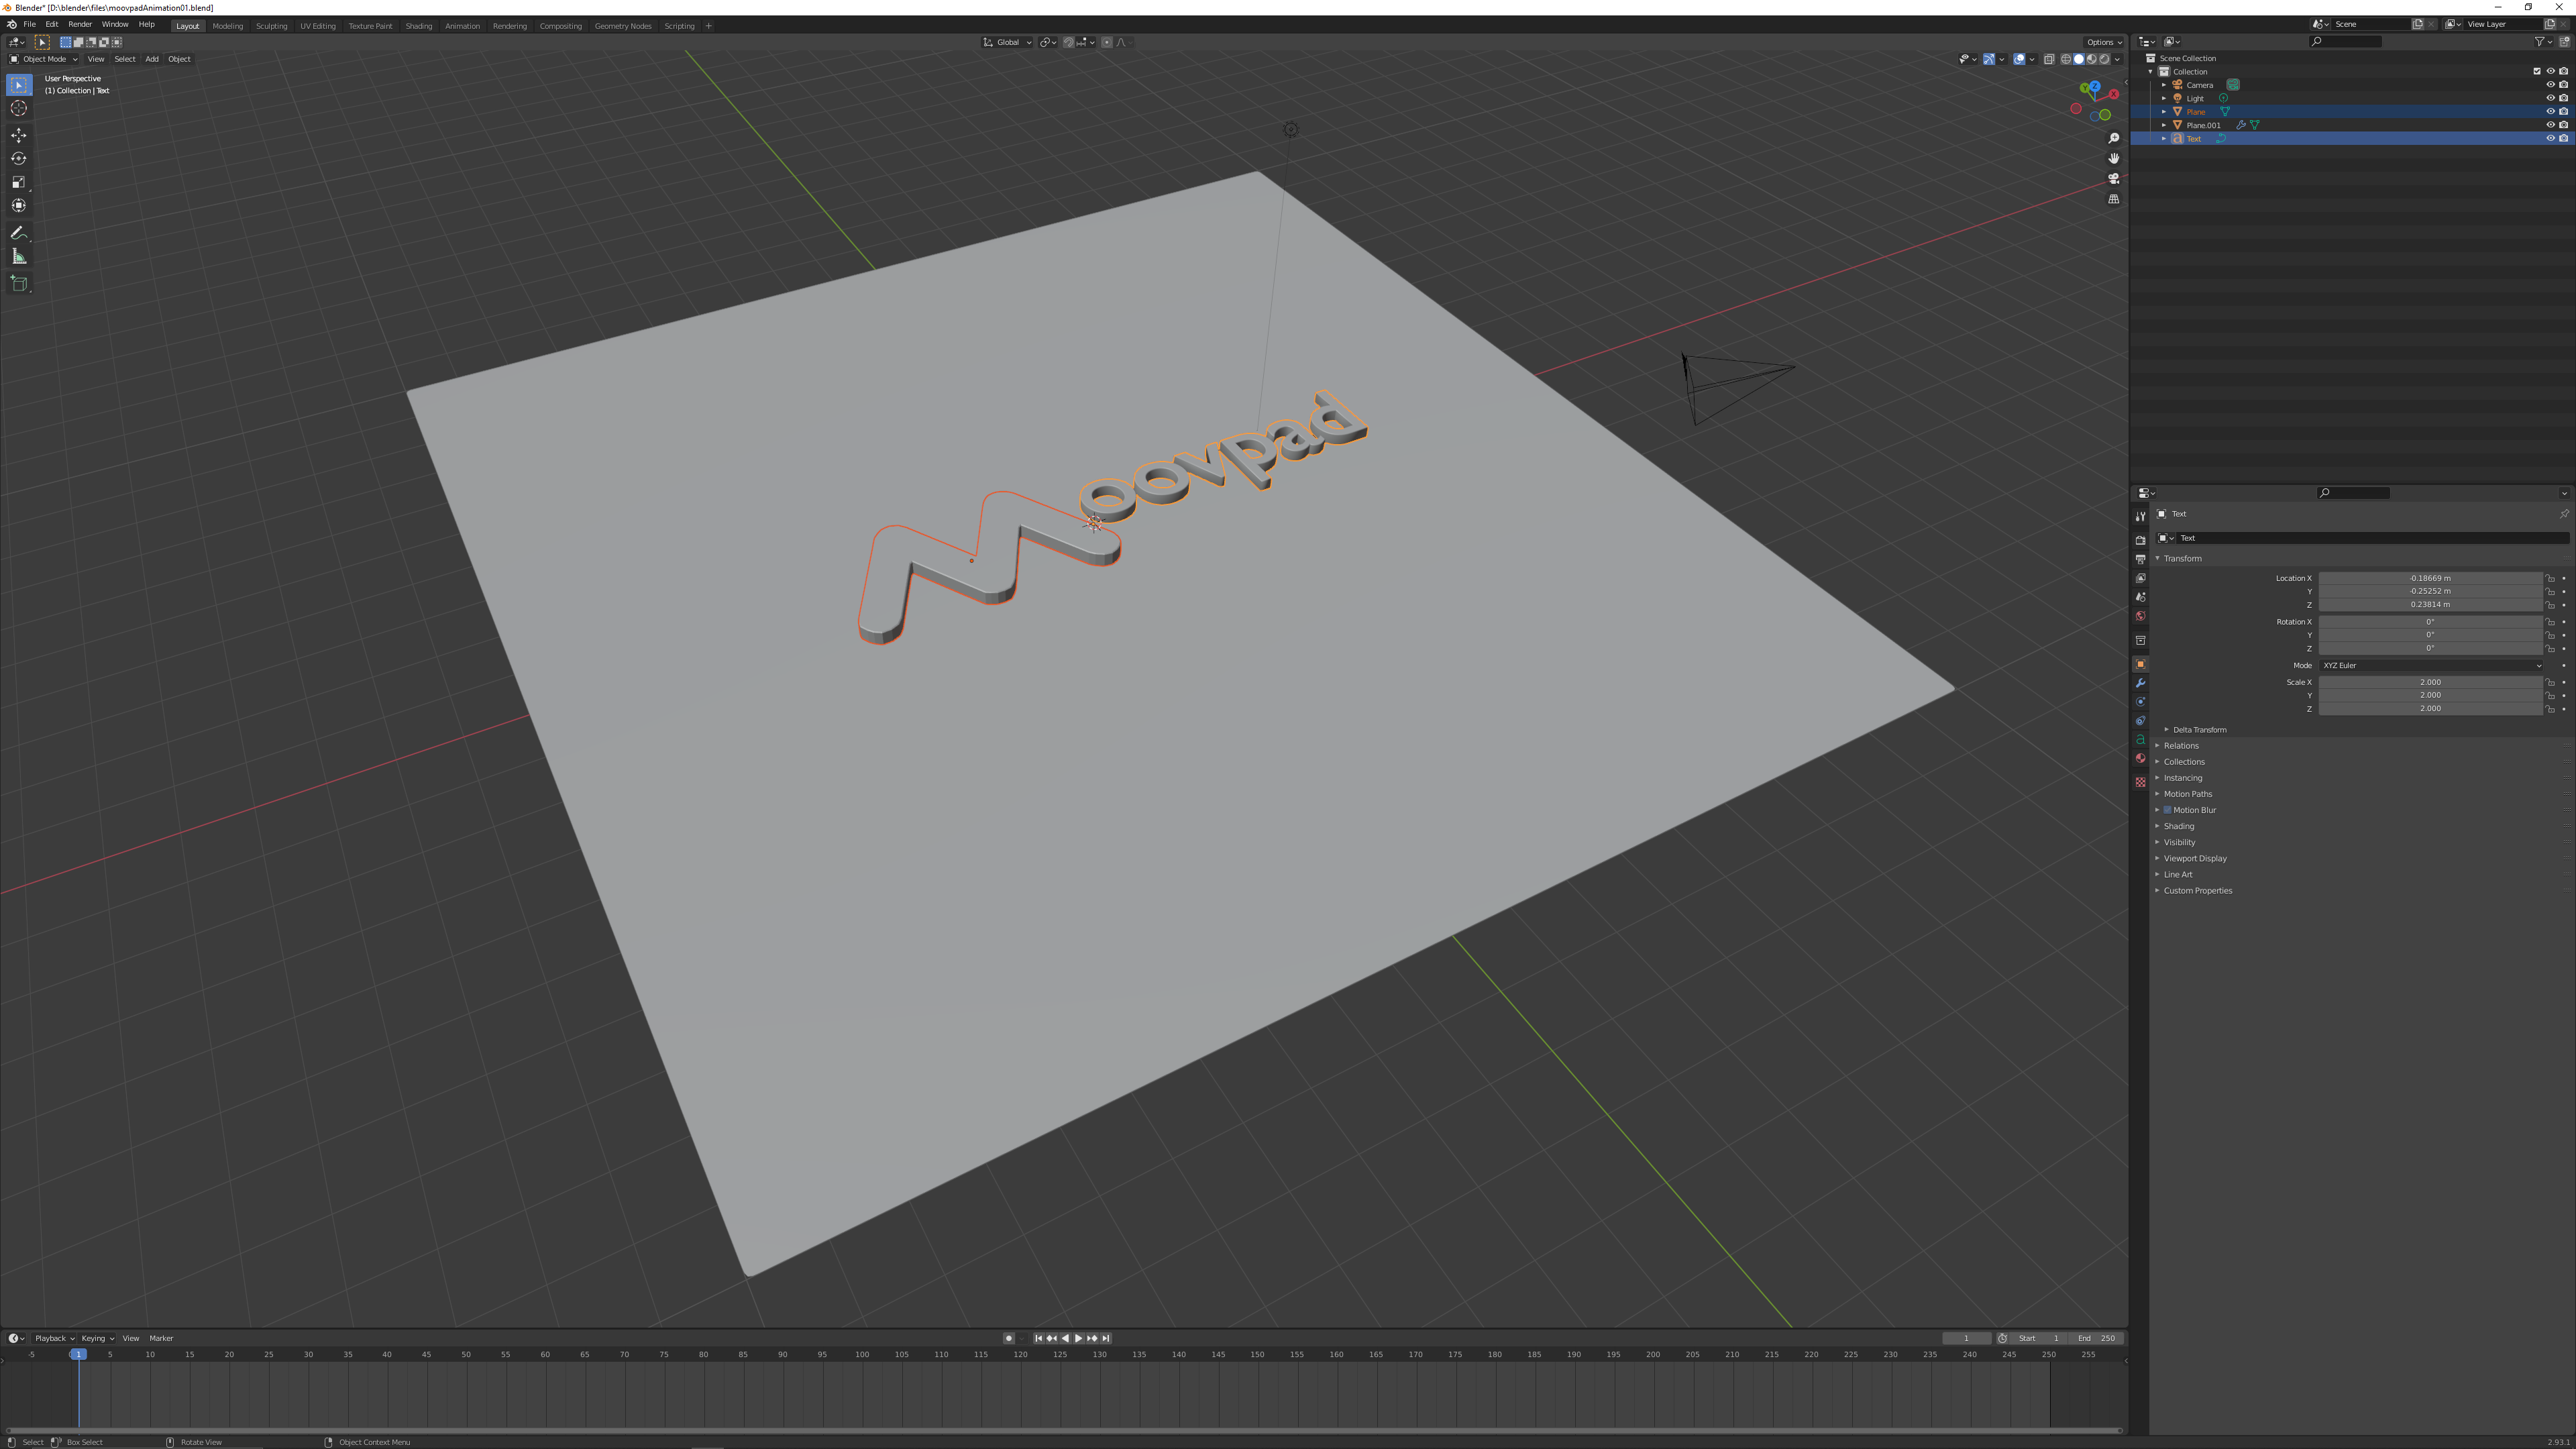
As you can see, it was mainly about getting the logo and plane ready for modification in later steps. No cameras or lights added in at this stage. The "M" for the MOOVPAD logo needed to be made separately of course since it isn't a standard font.
Step 2 - Textures and HDRI
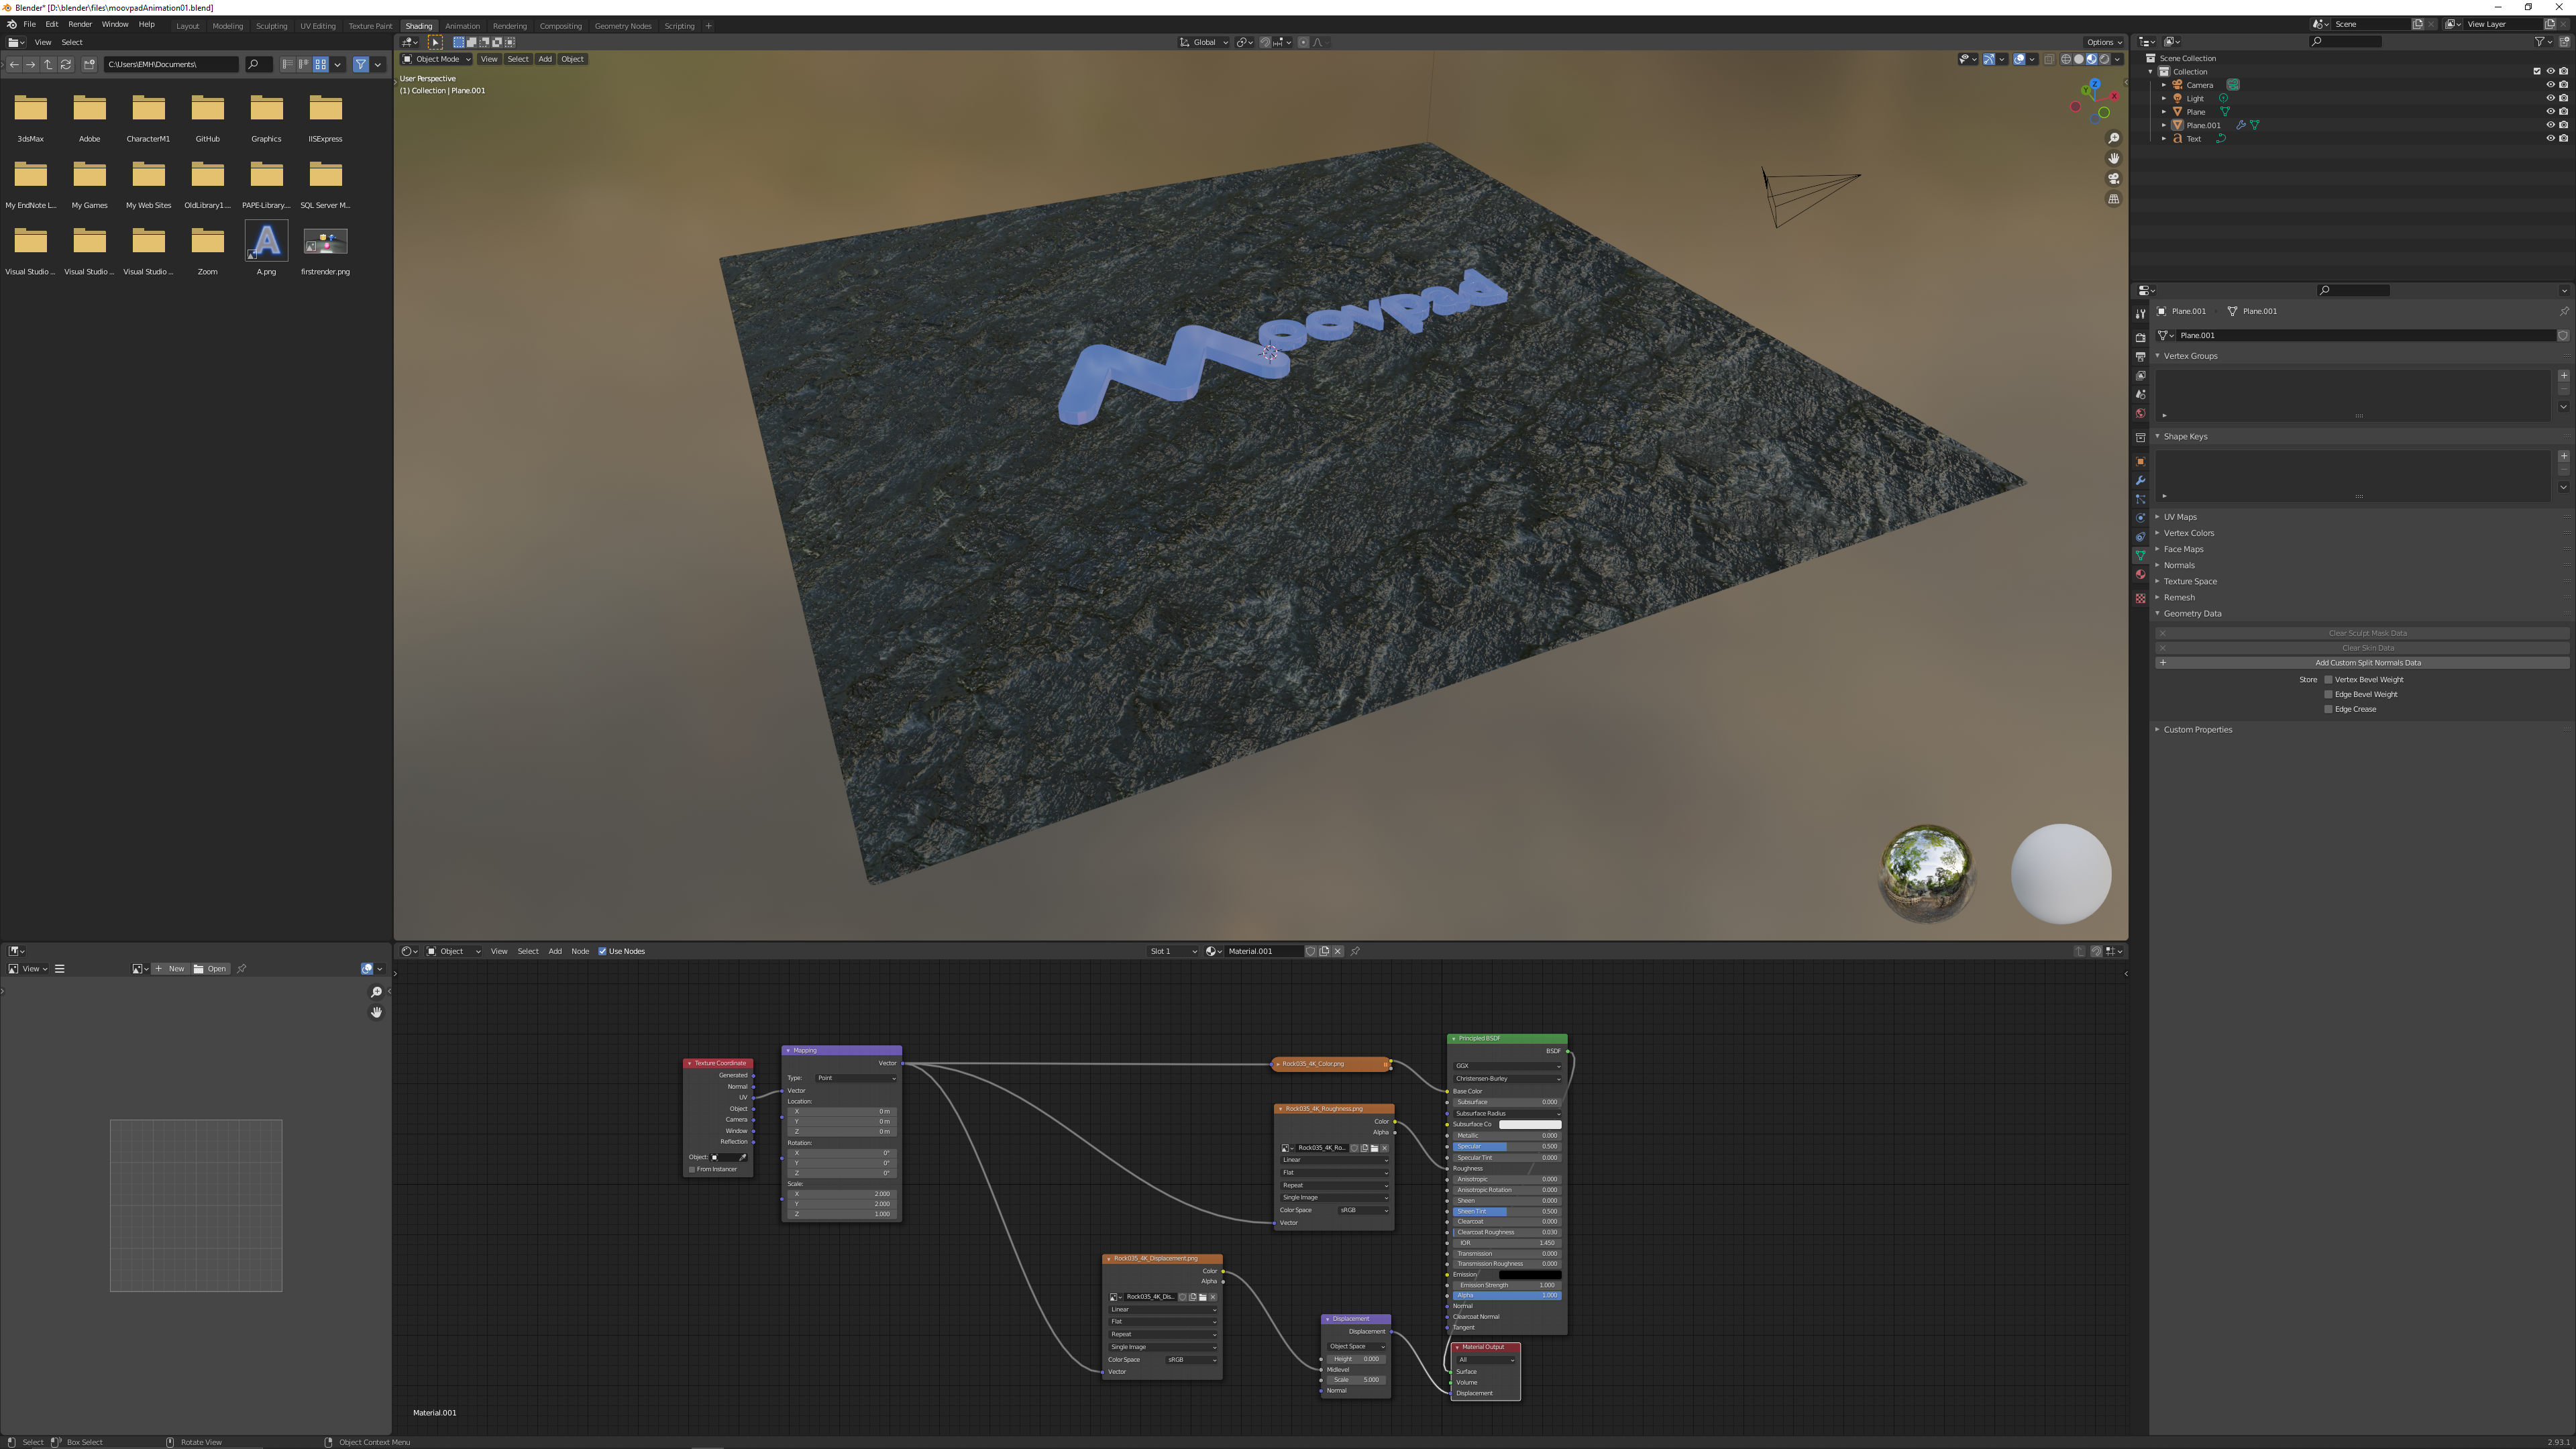
All of the texture files (about 250 MB) and HDRI files needed downloading from two separate sites. They didn't take too long though, but if you plan on downloading a lot of these then you just might need to consider files sizes and storage in some cases. Fortunately I had no issues.
Step 3 - Basic Logo Emmission
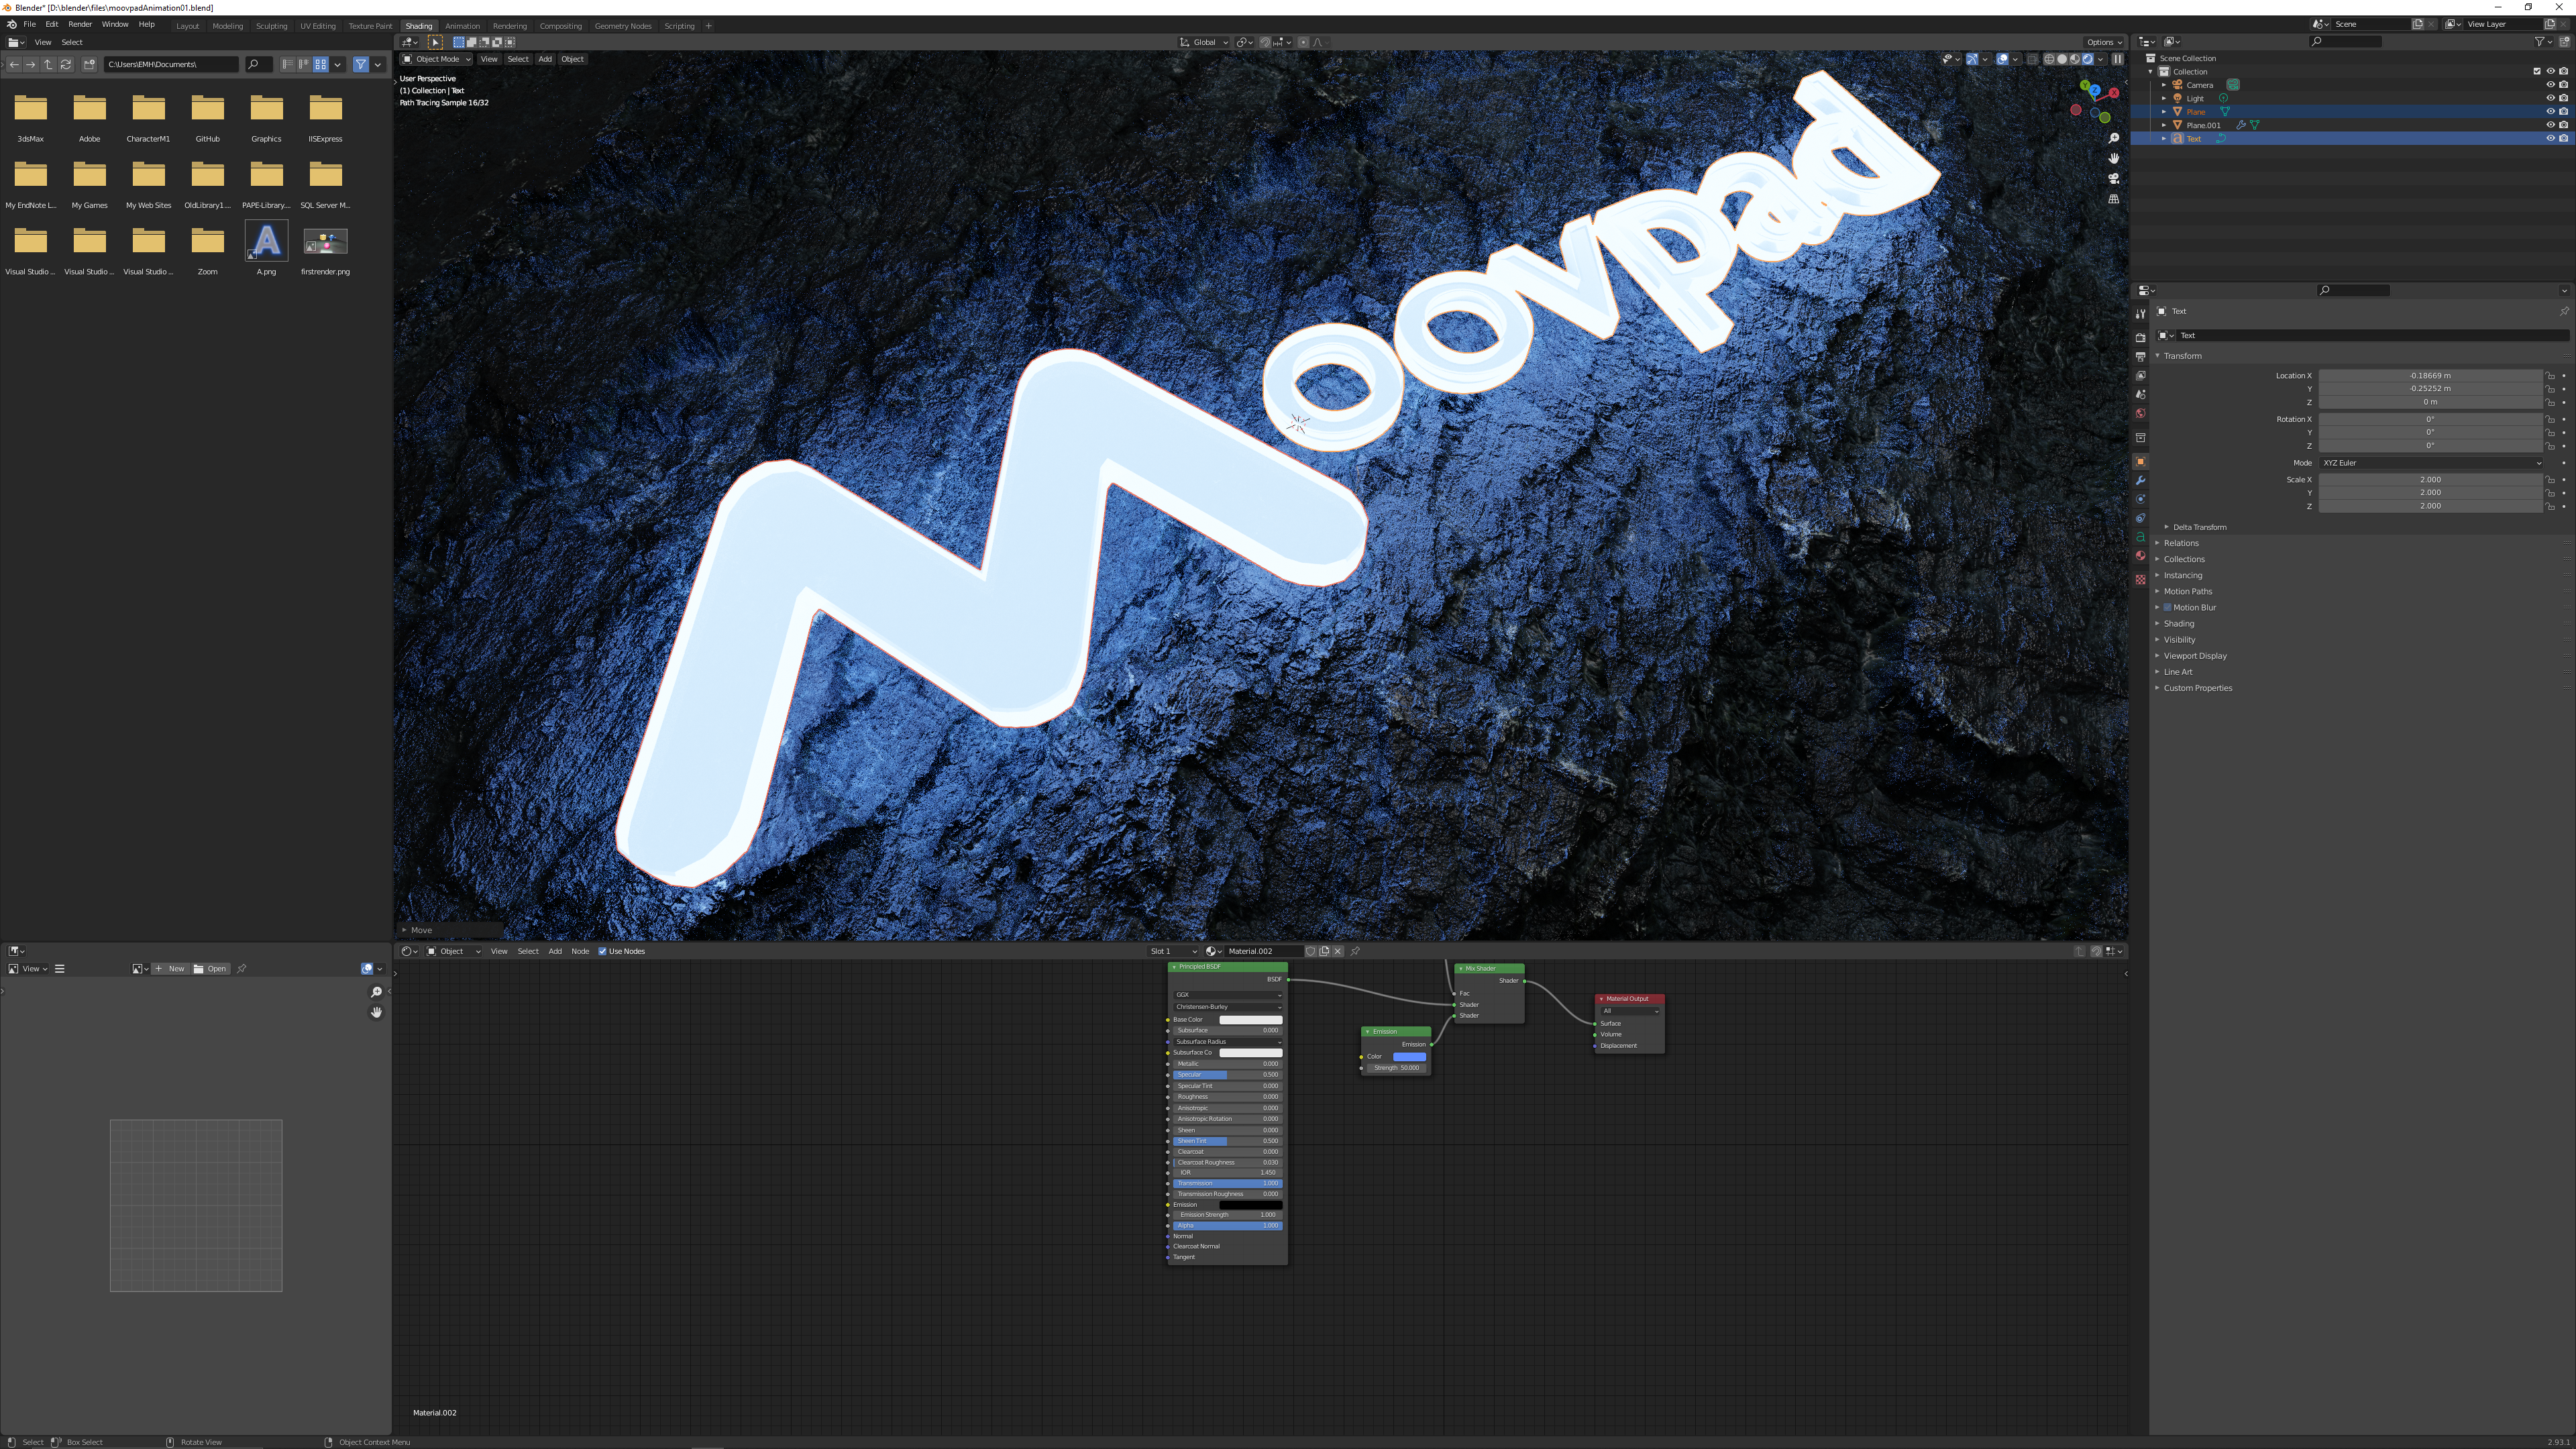
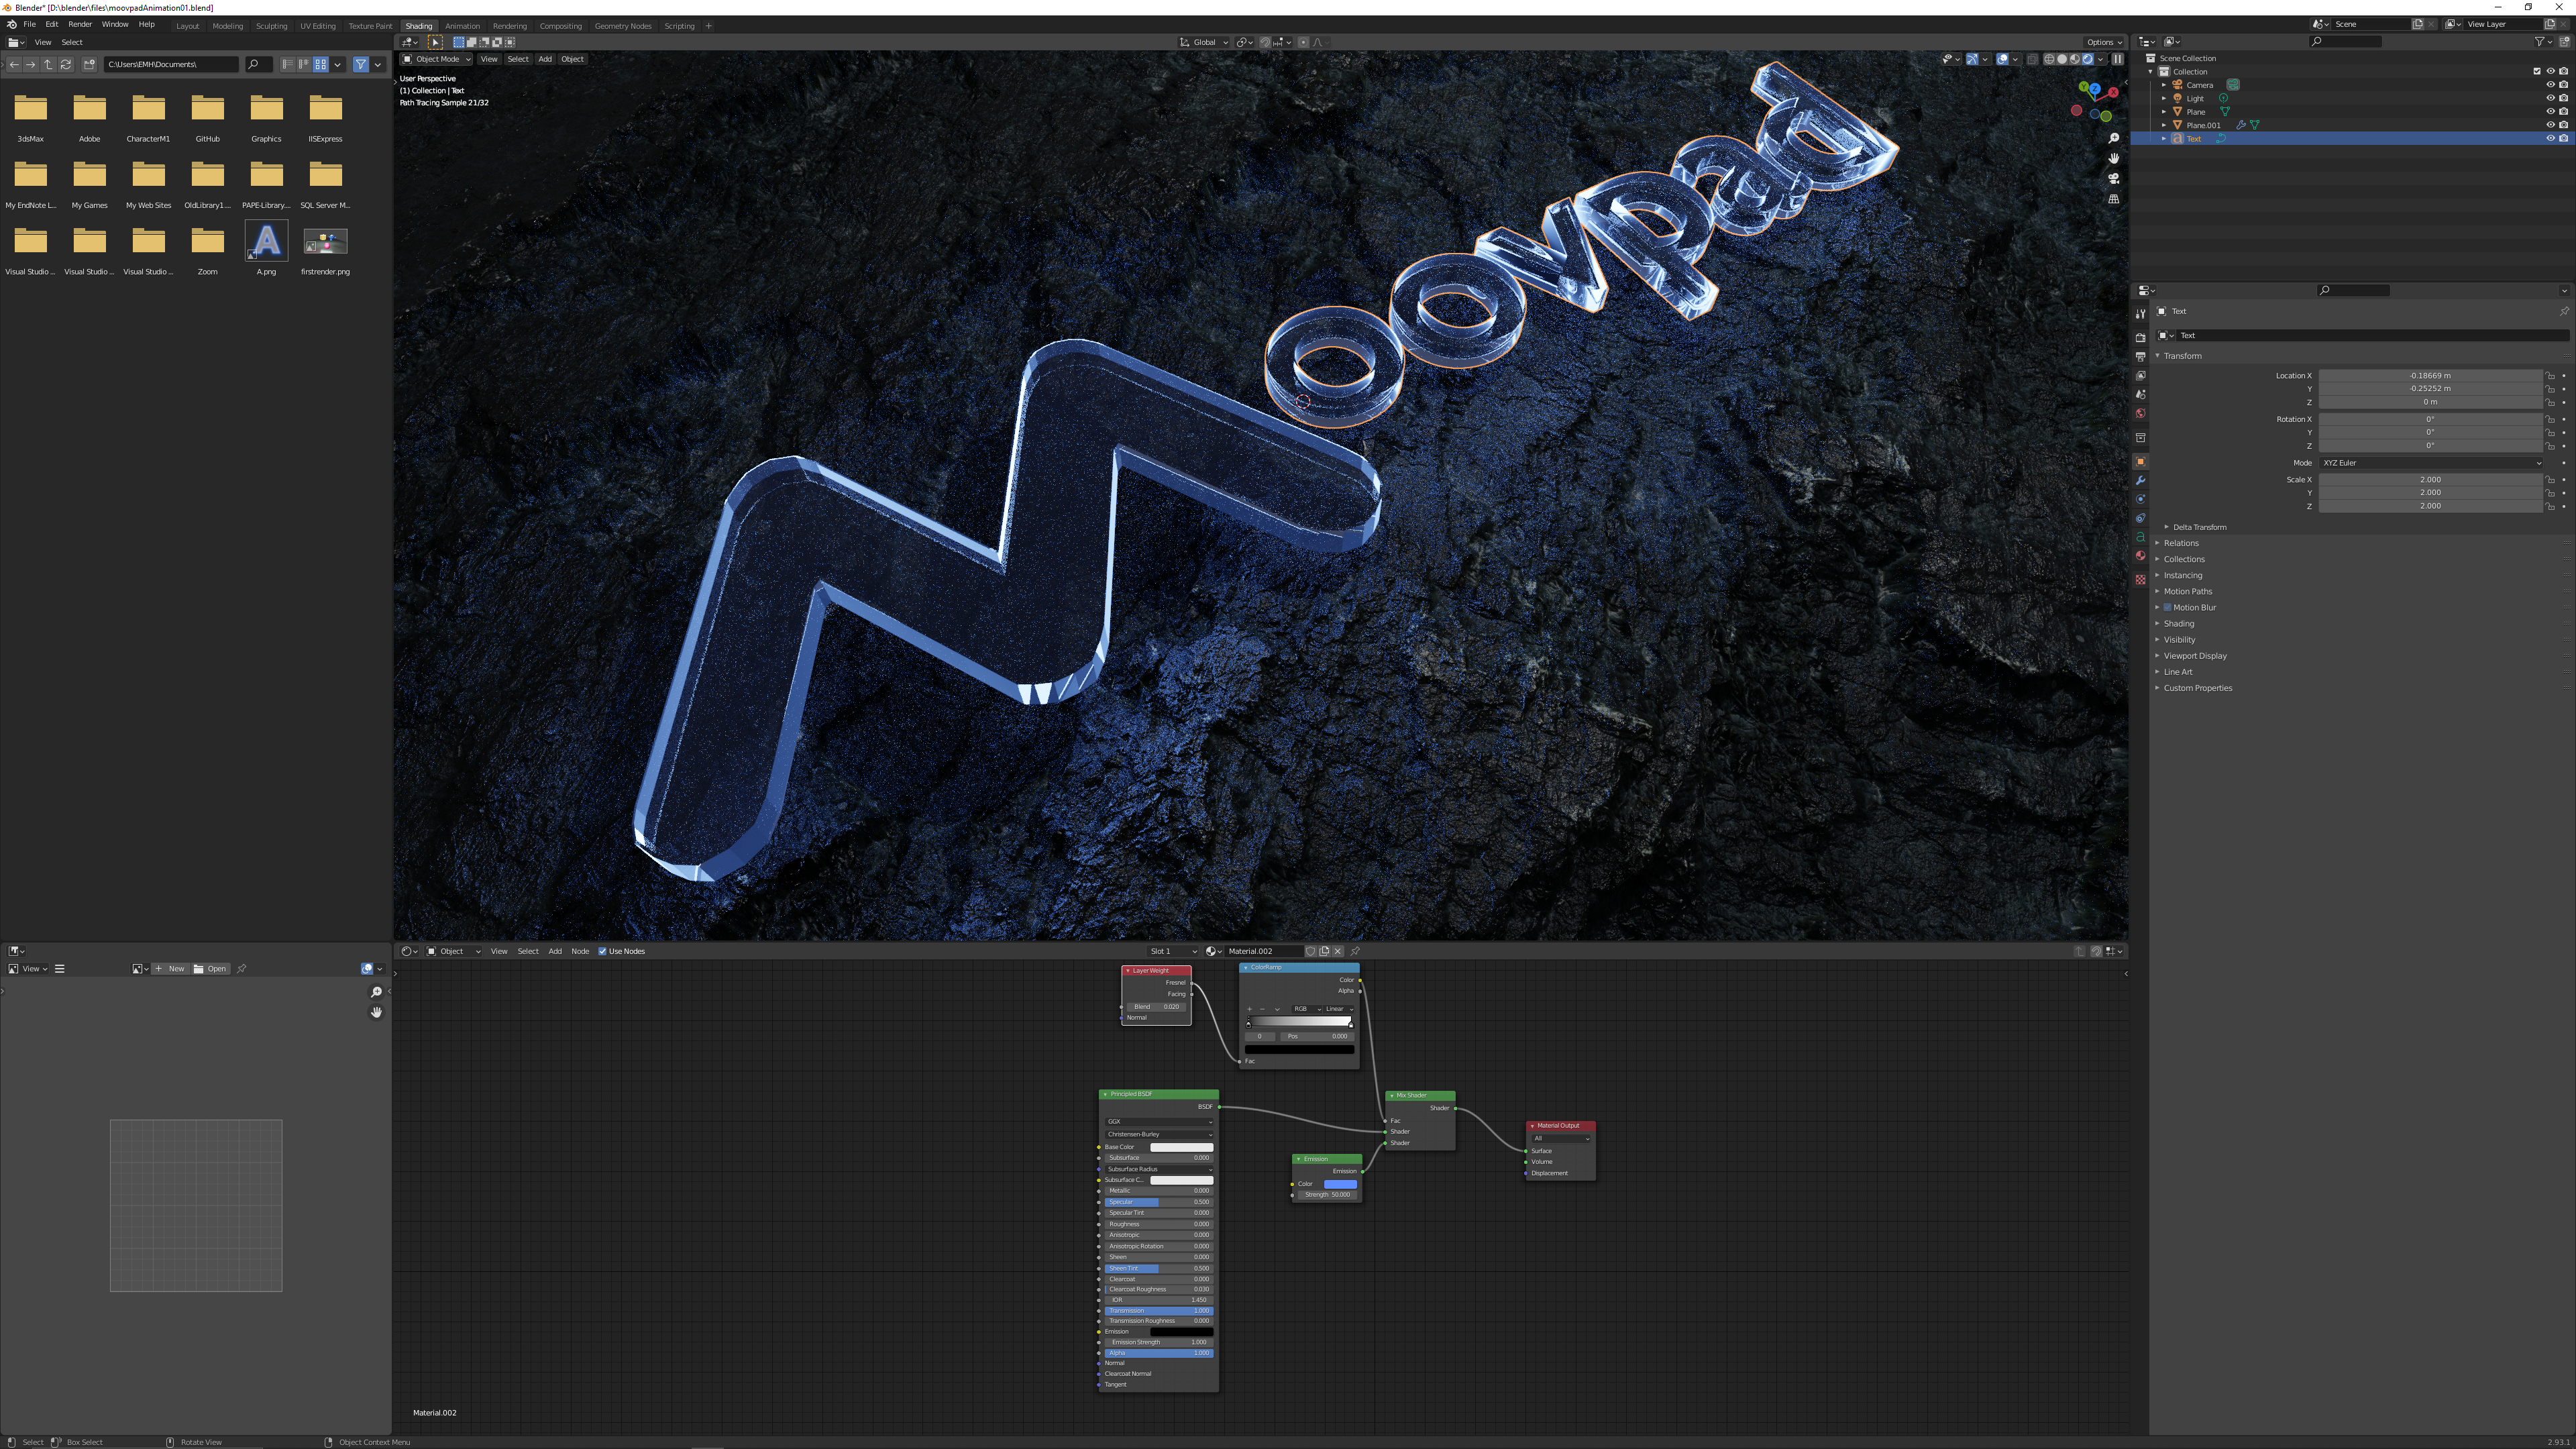
This stage was basically about setting transparencies and adjusting the emmission levels for the logo itself. Node editor was used for pretty much all of this stage.
Step 4 - Fine Tuning Textures
Texture adjustments were also made in the node editor, making adjustments for roughness, resolutions, etc. Once I reached a point that I was happy with, I didn't touch it again (although I know I can improve it for stage 2 next time).
Step 5 - Lights and Camera
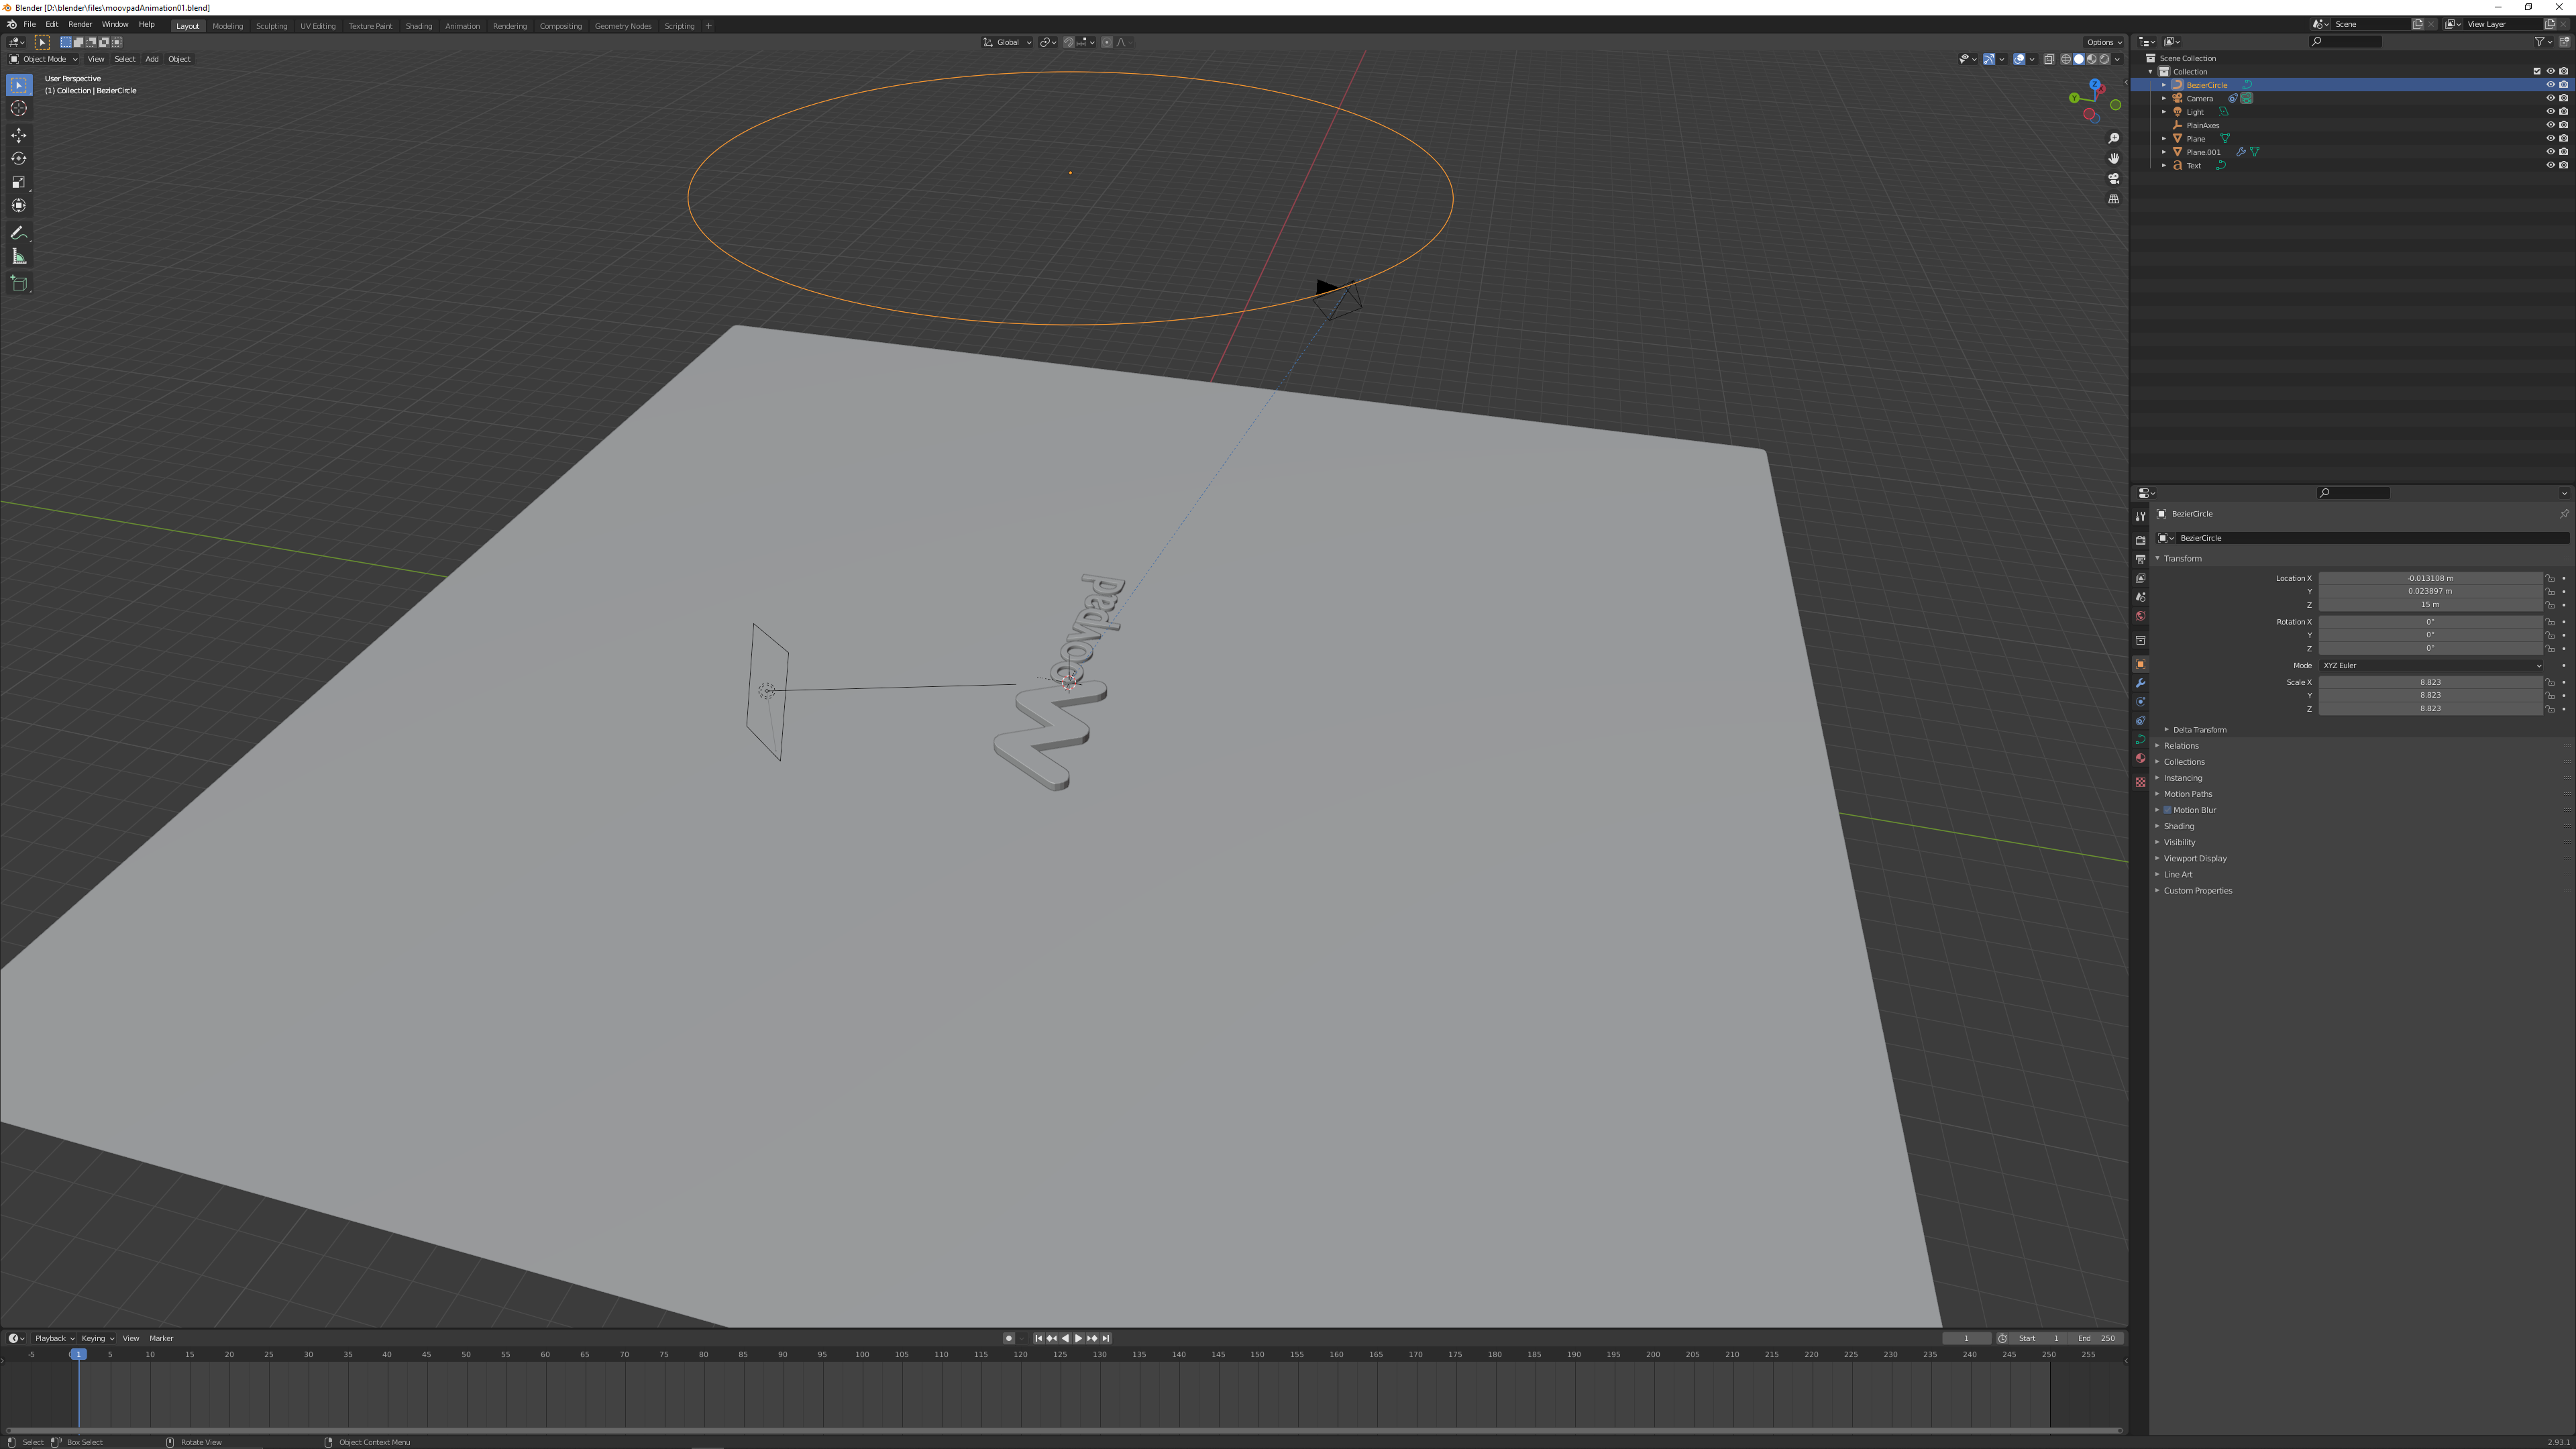
So with all the objects in, textures and "special" effects ready to go, it came time to animate the camera and set the appropriate lighting. Both of these will be adjust further down the line, but OK for demo purposes here.
Step 6 - Rendering
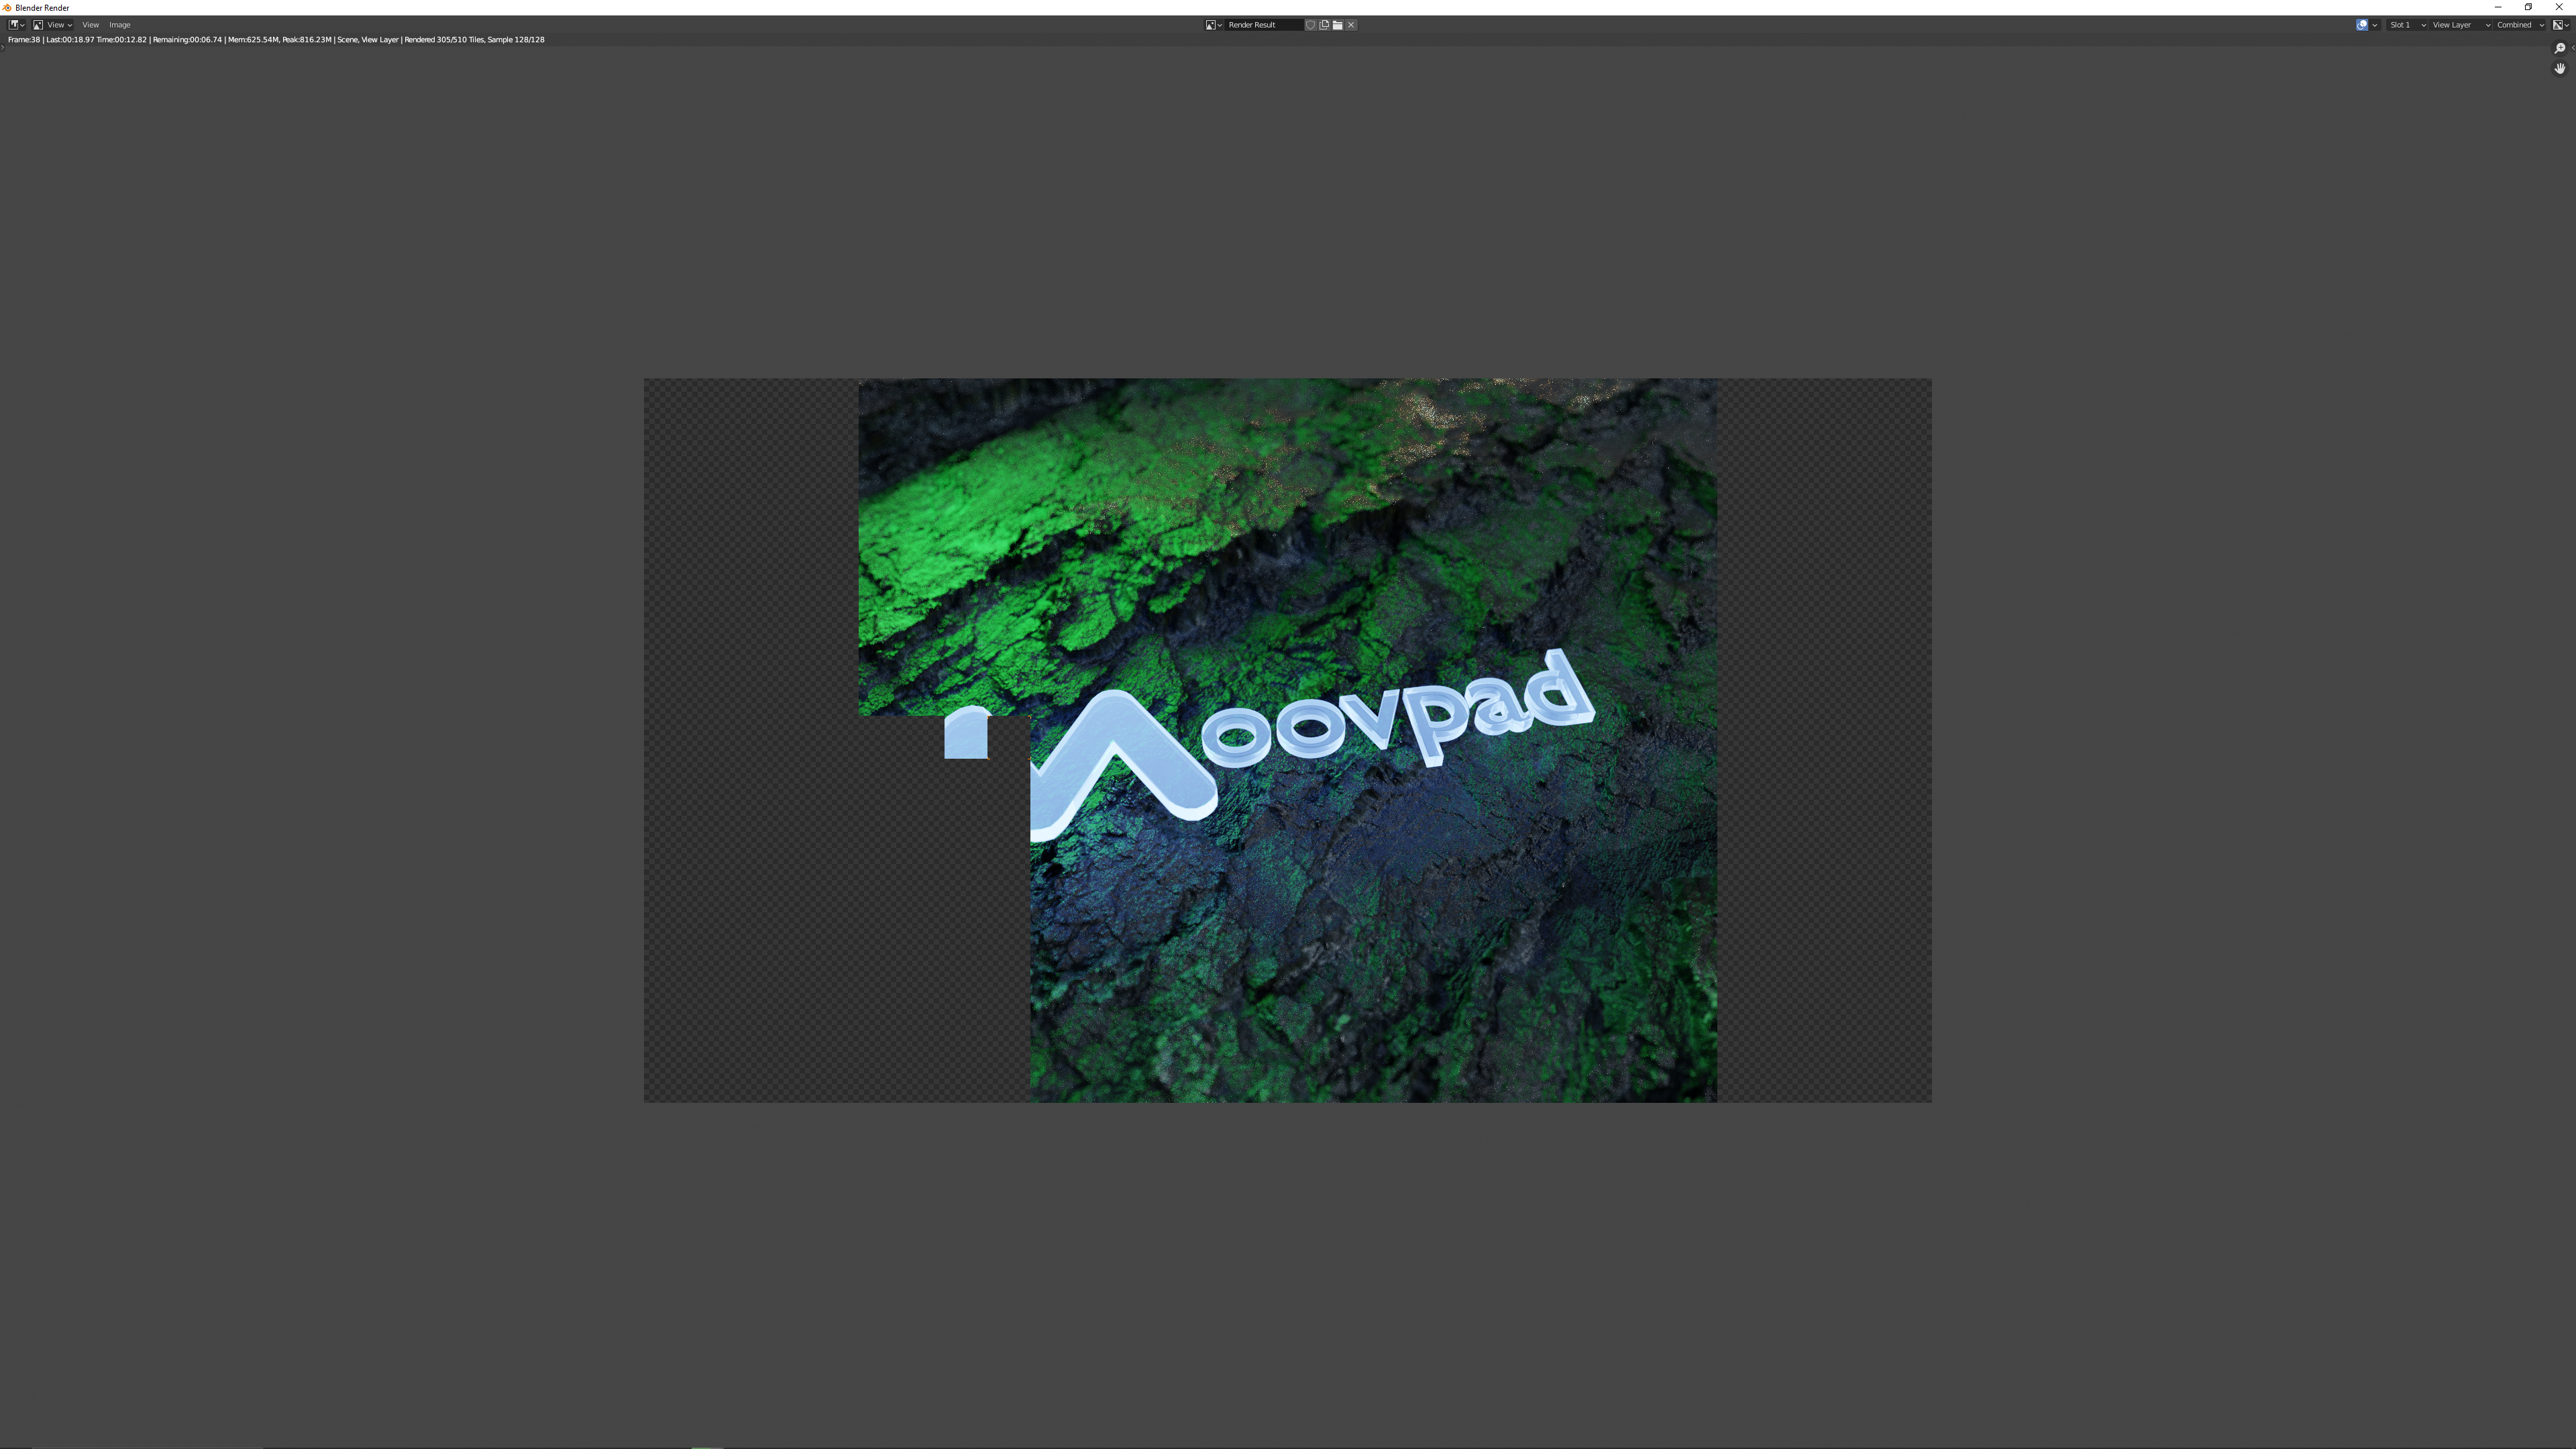
The final stage is called "rendering", which in animation terms means taking each frame of the animation, treating it as a separate image and then putting all of them together to make the final animation. This 4 sec video took 90 frames and quite a while to render with my 3060Ti. If I end up doing a lot more of these I'll need to upgrade to a 3090 (but they're definitely not cheap 😉 ).
Next Up
It's time to get some more serious work done now, so I'll turn my attention to the coding and catch up with you guys a bit later. Hope you enjoy the little demo above and that you get some ideas.
Stay awesome,
EMH
